Training
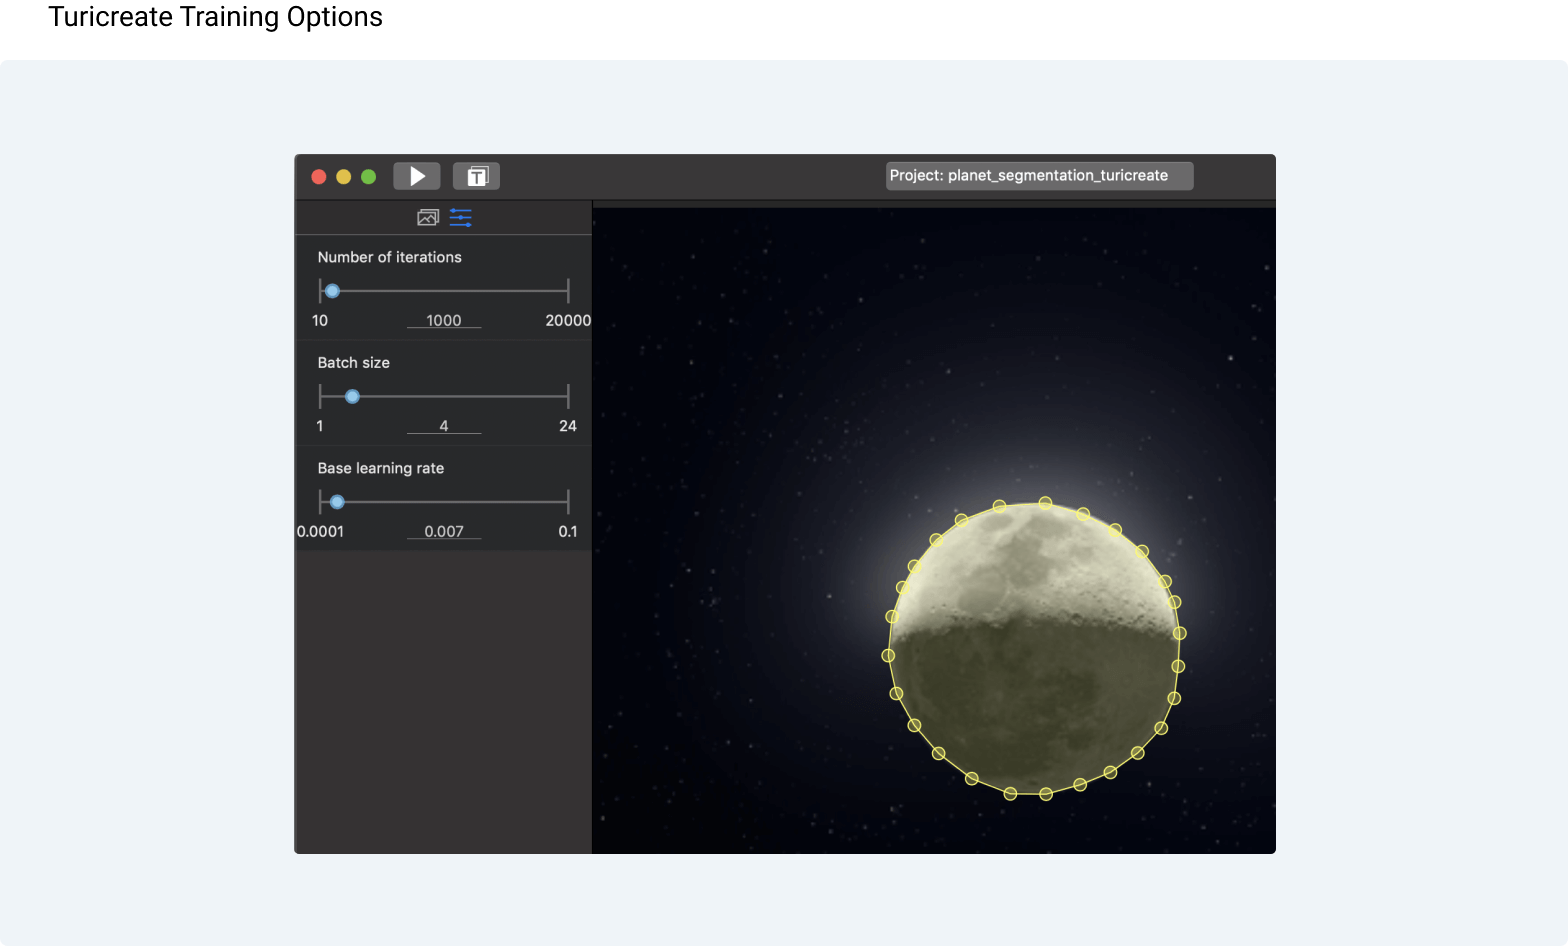
- Before training, you can change editable parameters. You can change batch size, number of iterations, and learning rate of training.
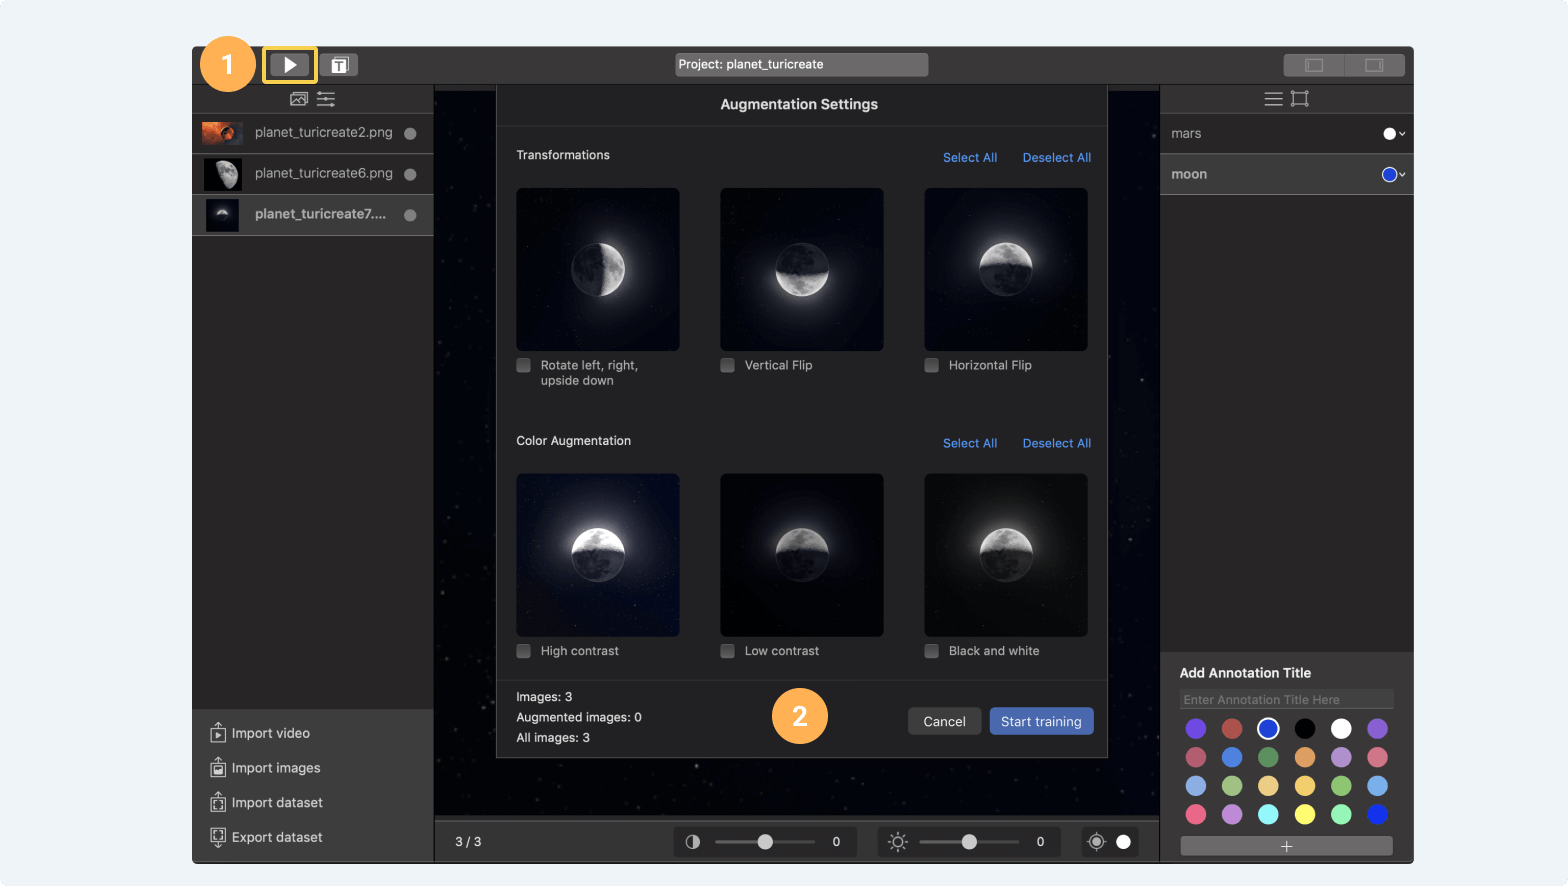
- To start training the Neural Network press run button. At first you will see augmentation page, where you can select different options on how you can augment your current dataset.
Note: With the MakeML app, you can train your models in the cloud on powerful MakeML instances. We provide 2 plans: Basic and Pro. With the Basic plan, your models will be trained on shared MakeML instances. It means that after uploading your model will start training if there will be free available instances, otherwise it will be added to the queue and will start training as soon as any of the instances will become free. With the Pro plan, you will have a personal instance, and every training of yours will start instantly.
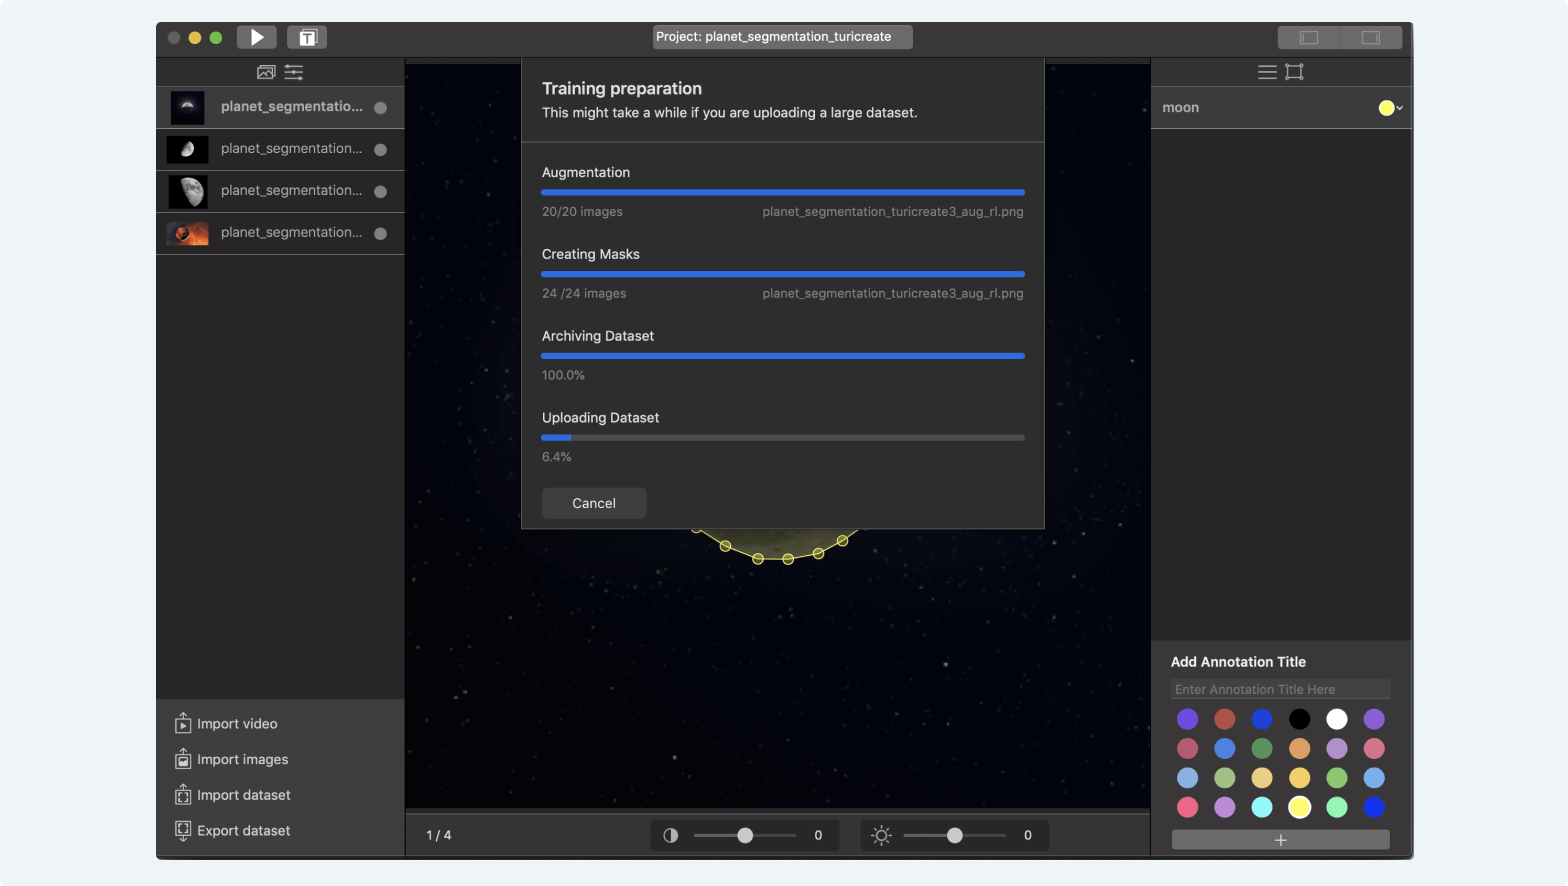
- After you will press "Start Training" button on augmentation screen, MakeML will start to prepare your dataset and upload it to the server. You can cancel your training during this process.
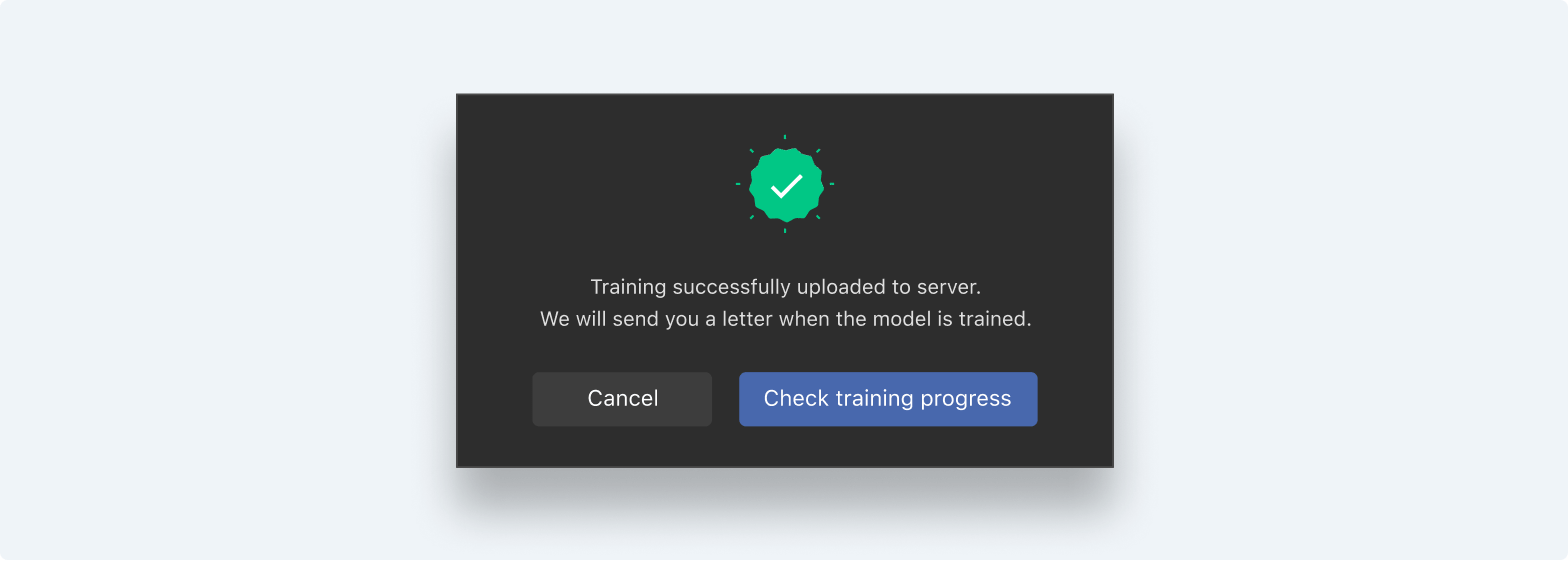
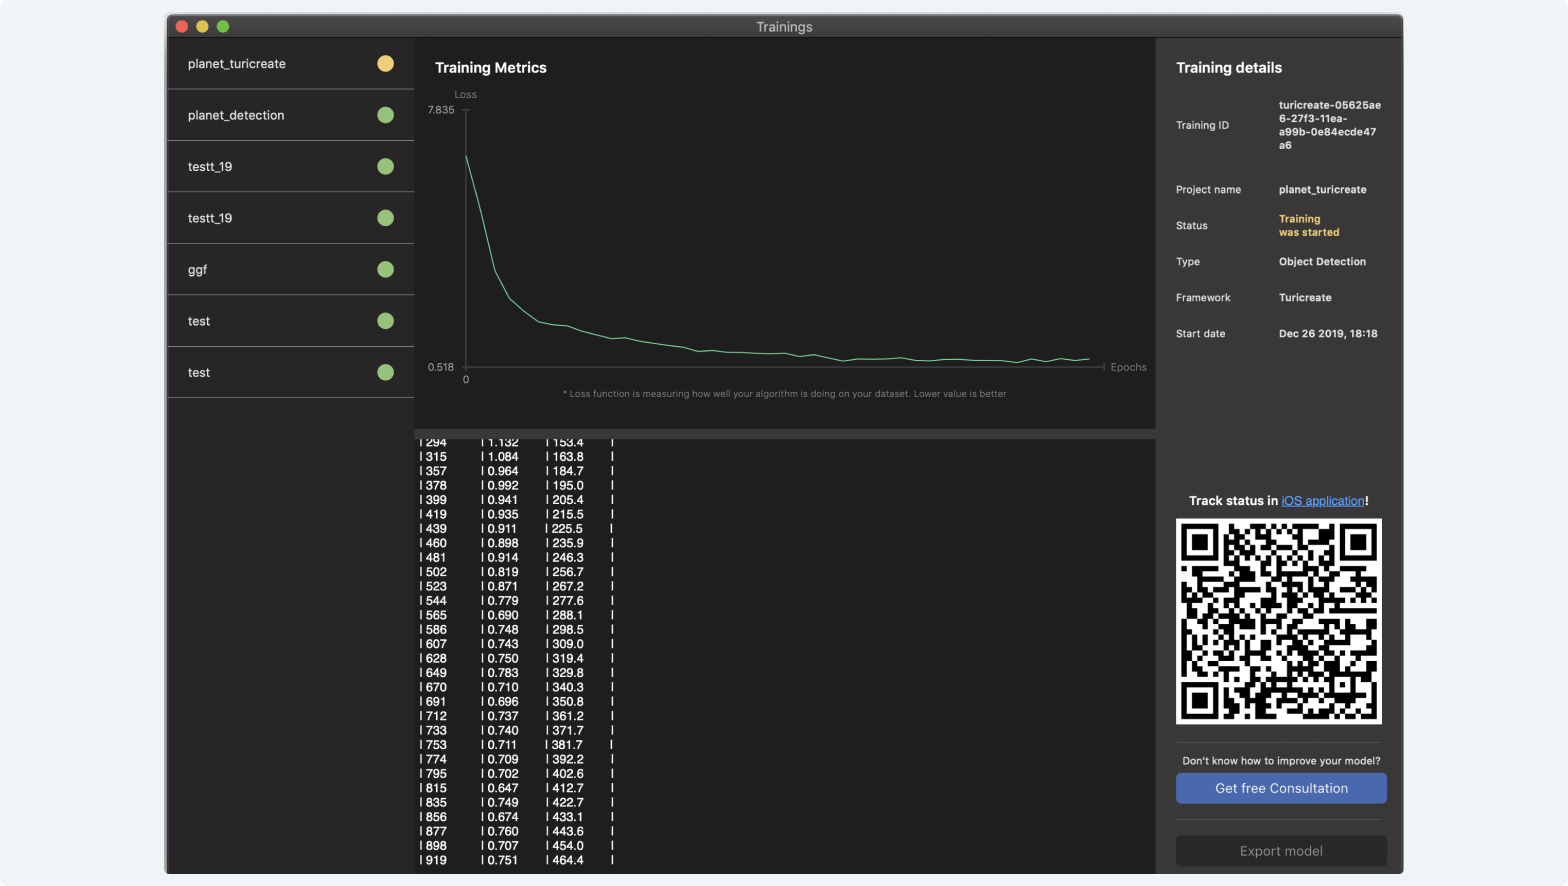
- After your dataset will be uploaded to the server and training of your Neural Network will start you can check training progress. When the training is finished you will receive an email about it.
- On trainings view controller you can check all of your trainings, their statuses and general information about them. You can continue your work in the app, because the training is going on MakeML servers.
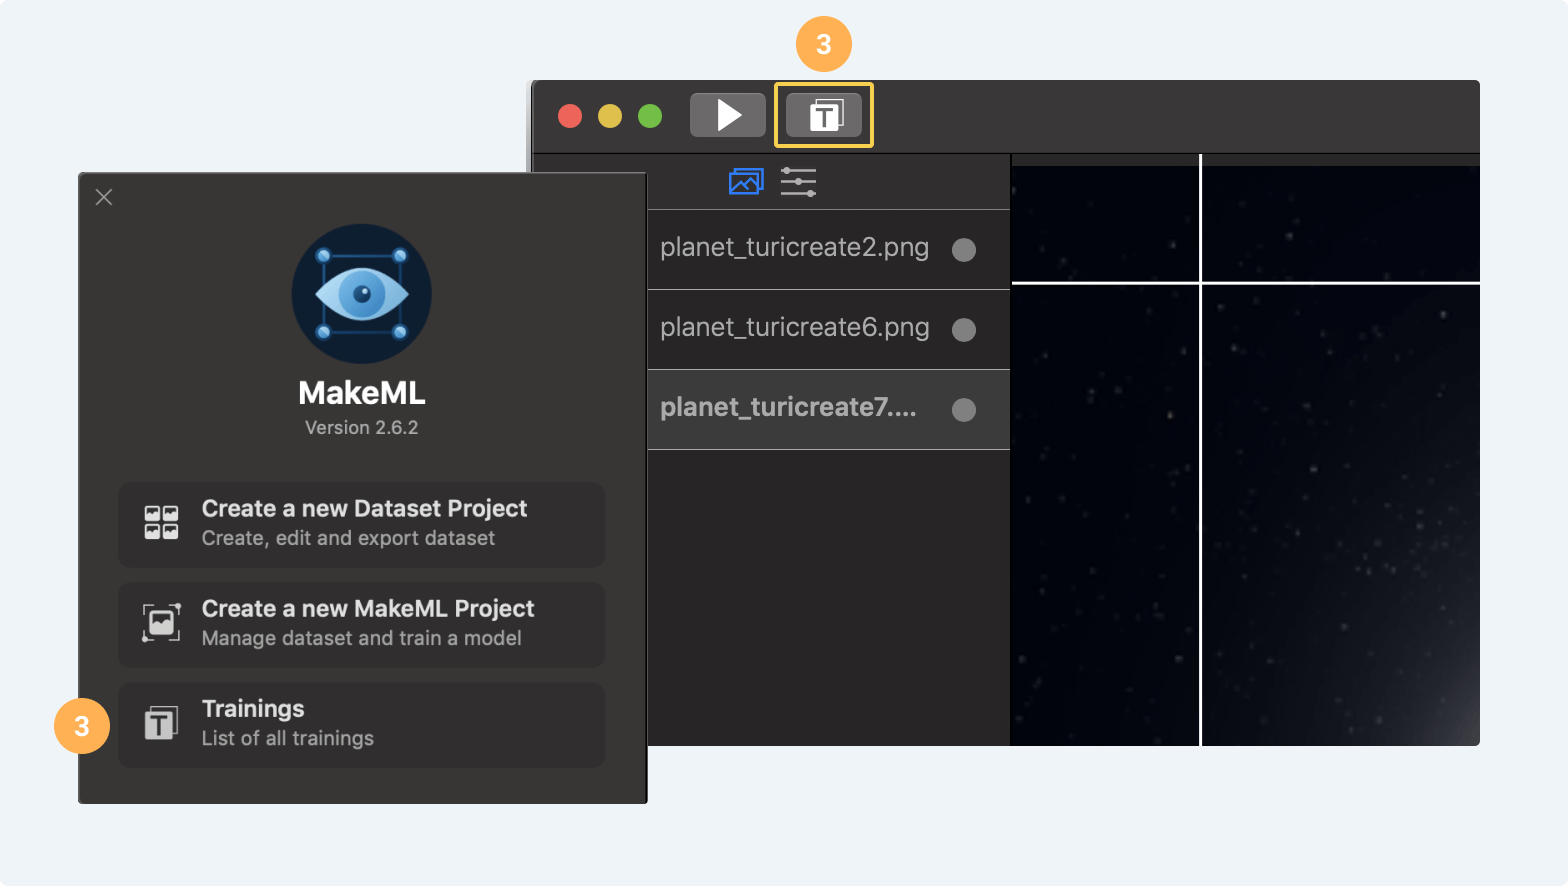
- You can open trainings window in create project window or in project window itself. Also you can open trainings window in menu by pressing Window -> Trainings.
- When your training will be finished the “Export model” button will become available on trainings screen.
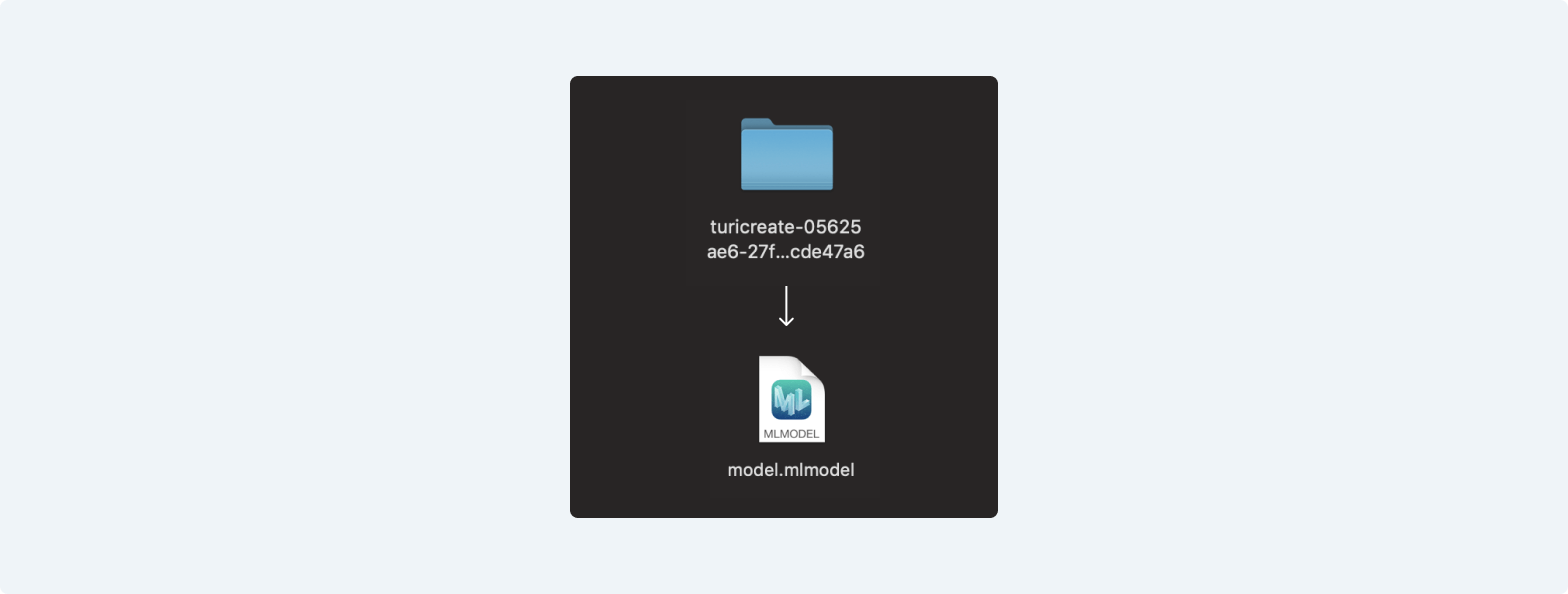
- You will receive it in the following format:
Looks like you are ready for using the model in your application. You can read how to use TFLite model in iOS application in our documentation.