Nails Segmentation Tutorial
Editorial
Welcome to MakeML Tutorials.
Recently mobile devices become much powerful than before; new devices are packed with powerful multicore CPUs, GPUs, and even NPUs (Neural Processing Unit, created for running neural networks).
Mobile developers are often asked to implement the latest available features for their platforms, and demand for ML models in production application has increased dramatically over the last couple of years.
In MakeML Tutorials, we are going to show how people with little or no AI experience can train and integrate ML models into their apps. We will use examples of popular AI apps or will take already solved business problems as examples. You can already know that the creation of production-ready Neural Networks requires a big dataset and lots of time, so our models in this course will have some reasonable limitations but will allow you to train Neural Networks fast and understand critical concepts how they are trained and can be integrated to your apps.
Overview
In this tutorial we will look at "Wanna Nails" case and we will show you how to train a model that will detect nails in a couple of hours.
"Wanna Nails" is an app that using Object Segmentation to detect nails and try on different polish colors. You can download the app from here. It works like this:
Our example app was made on 50 images. Here is an example of an app that you will get at the end of this tutorial:
Note: As we have mentioned above, our model have some limitations - it better detects nails of a person whose nails we were using as a dataset. It will work worse in a light conditions that wasn't presented in our dataset. Due to lack of images in dataset it can sometimes make wrong detections. But still, it's very good and fast way to make proof-of-concept and test app mechanics with Object Segmentation Neural Network that detects nails.
Creating Dataset: Images Preparation
To create a production-ready dataset, we'll need tens of thousands of different images in it. However, here we want to show you how you can train a Neural Network and integrate it with your app, and we hope that you'll do it in a reasonable amount of time. Hopefully a couple of hours. There are several big datasets on the web, such as COCO, PascalVOC, but they won't give you any clues if you want to make something custom. So, our assumptions are the following - we need to prepare a dataset in a small amount of time, and we want it to give us consistent results from training.
Let's imagine that our dataset needs some fuel. This fuel is images. To drive through whole Route 66 successfully, we'll need several tanks of gasoline. At this point, we don't need this. Here we'll try to make it from LA Downtown to Santa Monica with as little gallons as possible!

Here is a full dataset that we've used to train the nails segmentation model. It contains 50 images of nails. They are captured from different angles, from different backgrounds, with different lighting conditions. It allows the model to capture the same patterns in different conditions.
We can apply the following rule of thumb for our datasets in this tutorial. Imagine that you have a baby, and this baby knows nothing about the environment, and you want to teach your baby to detect something. So, you want to provide her with enough examples, to allow her to detect objects correctly. At this point, you can look at your dataset and think whether these examples would be enough for your baby to learn. Sounds a bit odd, but it helps :)
Creating Dataset: Images Markup
Let's get back to work. So, you have captured 50 images of your hands, from different angles, from different backgrounds, maybe even in different lighting conditions. It takes me around 10 minutes to do it and to send it from my iPhone to my Mac. From this point, we need to markup them. To do this, we'll use MakeML app:
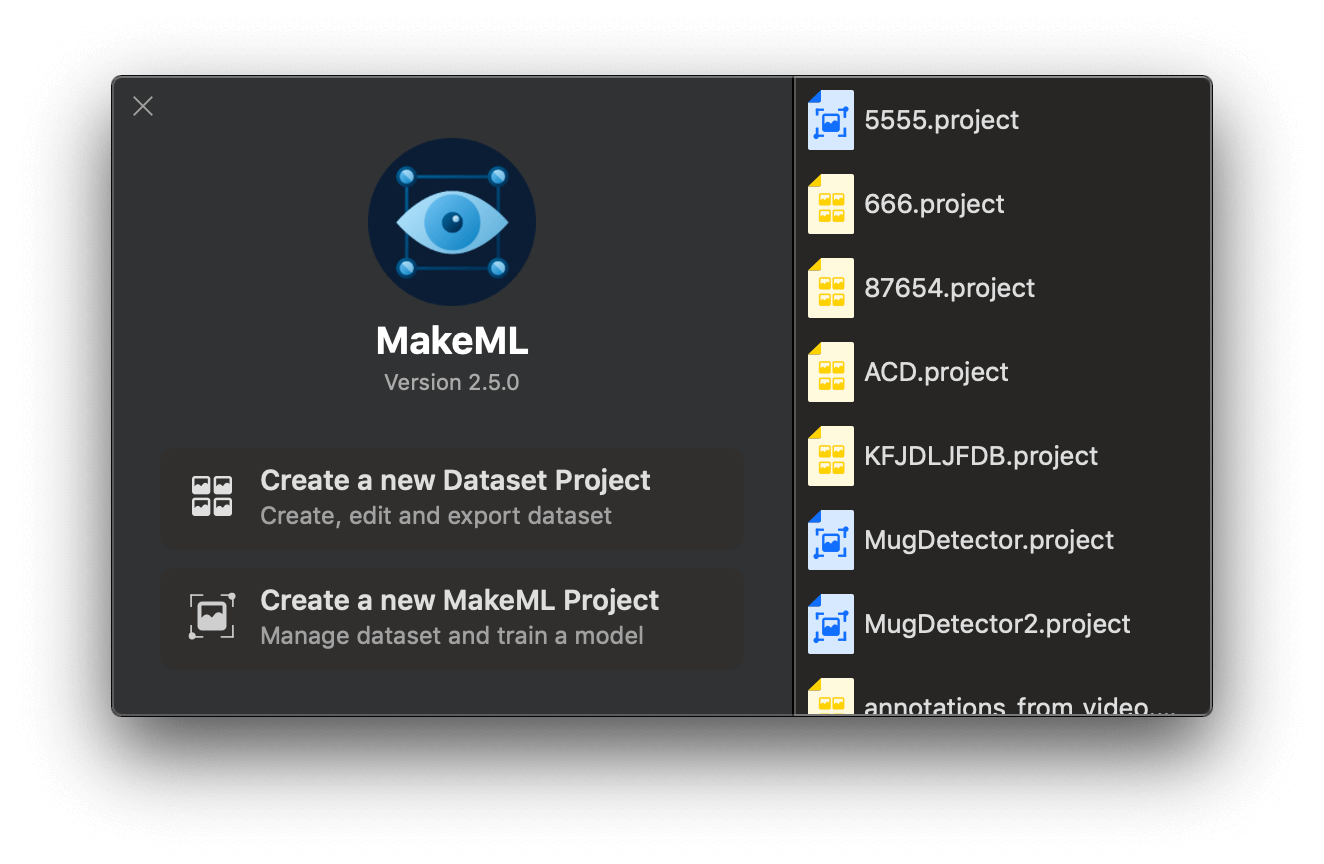
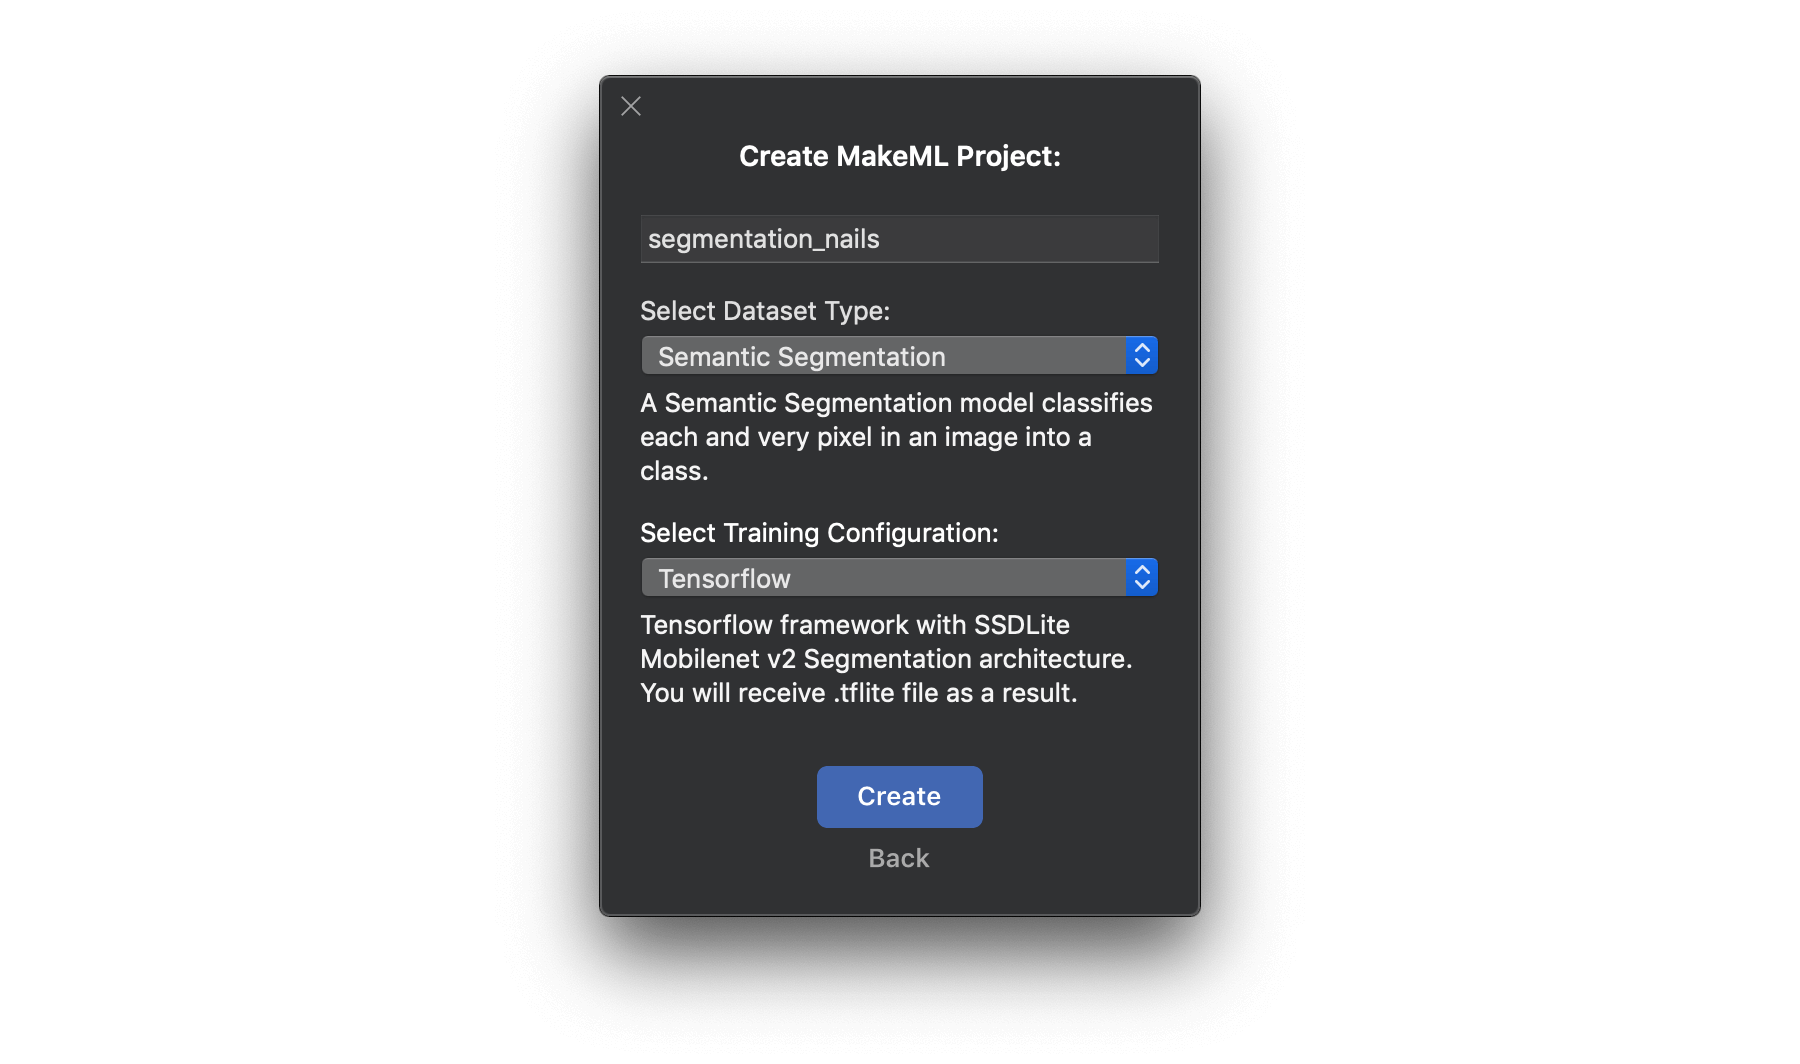
Open MakeML app and create a new MakeML project.
Select Semantic Segmentation dataset type and Tensorflow training configuration, enter a project name and press the "Create" button.
Drag&Drop images that you've captured to Images Pane.
Create annotation title
From this point, we're ready to annotate our nails! You should annotate every nail as a separate object. To start annotation left-click on a border of a nail and circle it making clicks to create a shape. To end annotating a nail press "Return" and the app connects last and first keypoints. To cancel the annotation press the "Esc" button.

It took me around an hour to annotate 50 images.
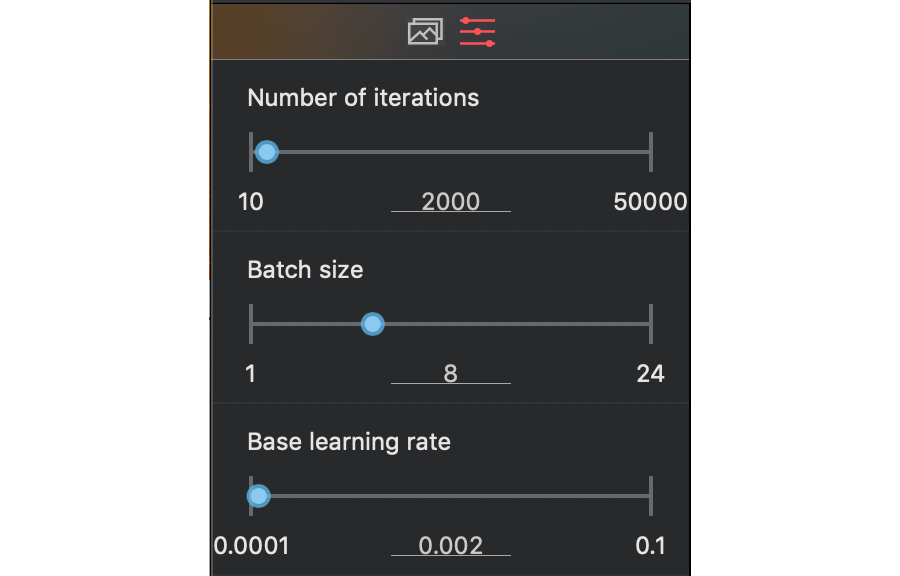
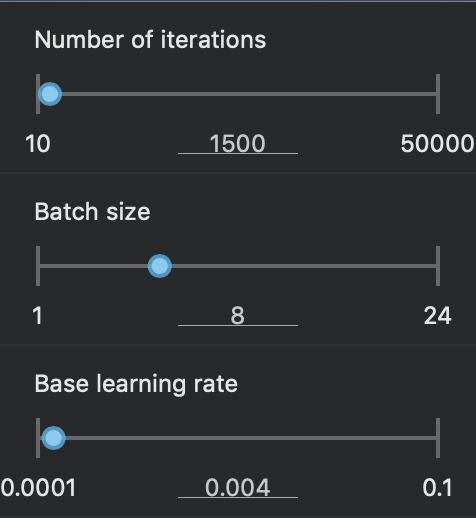
We also need to set training configuration parameters before training. For training nails model I've used the following configuration:
Batch size - 8
Base learning rate - 0.002
Number of iterations - 2000
To start training at this point, all we need to do - is to press the "Run" button.
Training
After you have pressed the "Run" button, the dataset uploads to MakeML servers and training of model starts. Nevertheless, from now on, you need to wait until your model is ready, there is one parameter that you need to monitor. It's Loss. You can see it in the output of your training.
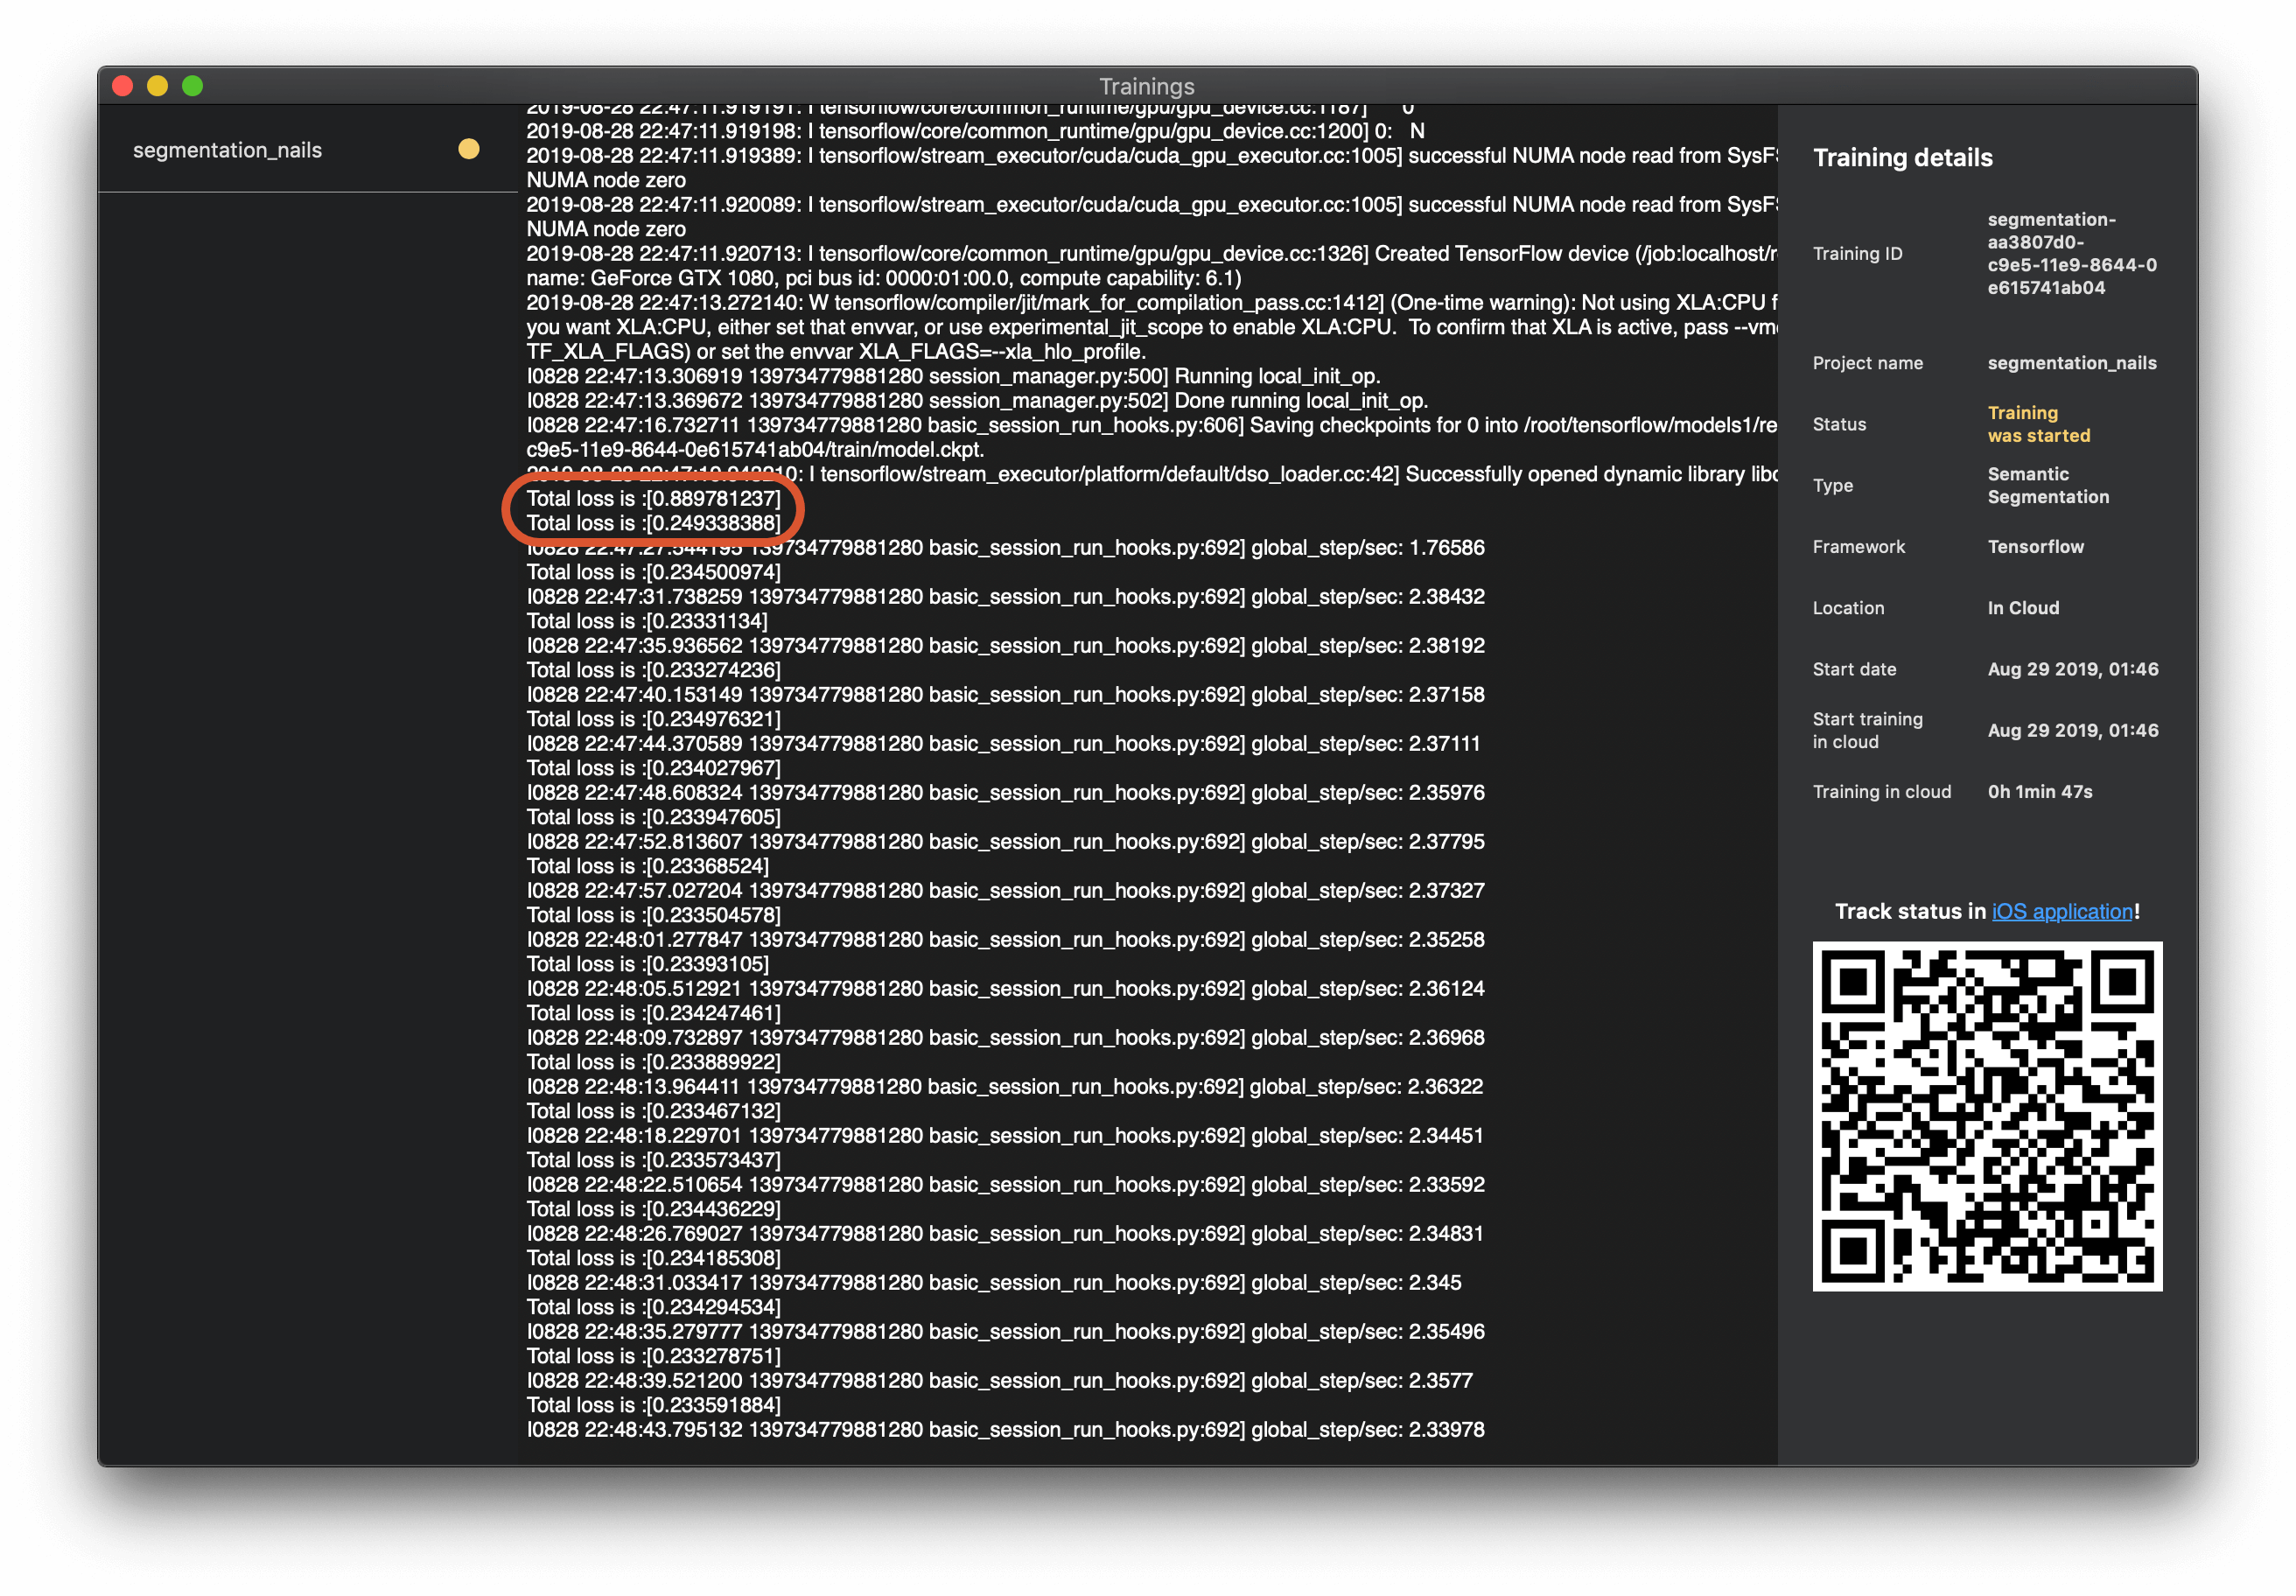
Let me describe what this Loss means. Neural Networks usually trains at the following principle:
A model is making a prediction. It doesn't know the correct answer. The correct answer is the annotations that we have made. A training algorithm compares the correct answer and the prediction of a model. In Object Segmentation, it looks for the overlapping of a predicted area and the correct area. Algorithm gets Loss from this overlapping. After this comparison of areas, the training algorithm tries to tune the model to minimize the error of the model. So, Loss is an essential parameter that shows how big is the error of a model. It's better when it's less. You can ask, "What does it all mean? What should I look at?". You need to compare the output of the training, and if Loss is decreasing - everything is fine. If it is going up, it means that something went wrong. It means that some of your model neurons have started to work wrong at some point. We can recommend 2 actions to avoid this behavior:
you can decrease "base learning rate" (for example from 0.007 to 0.004)
you can decrease "number of iterations" (for example from 3000 to 1500)
or you can make a combination of changes of these 2 training parameters
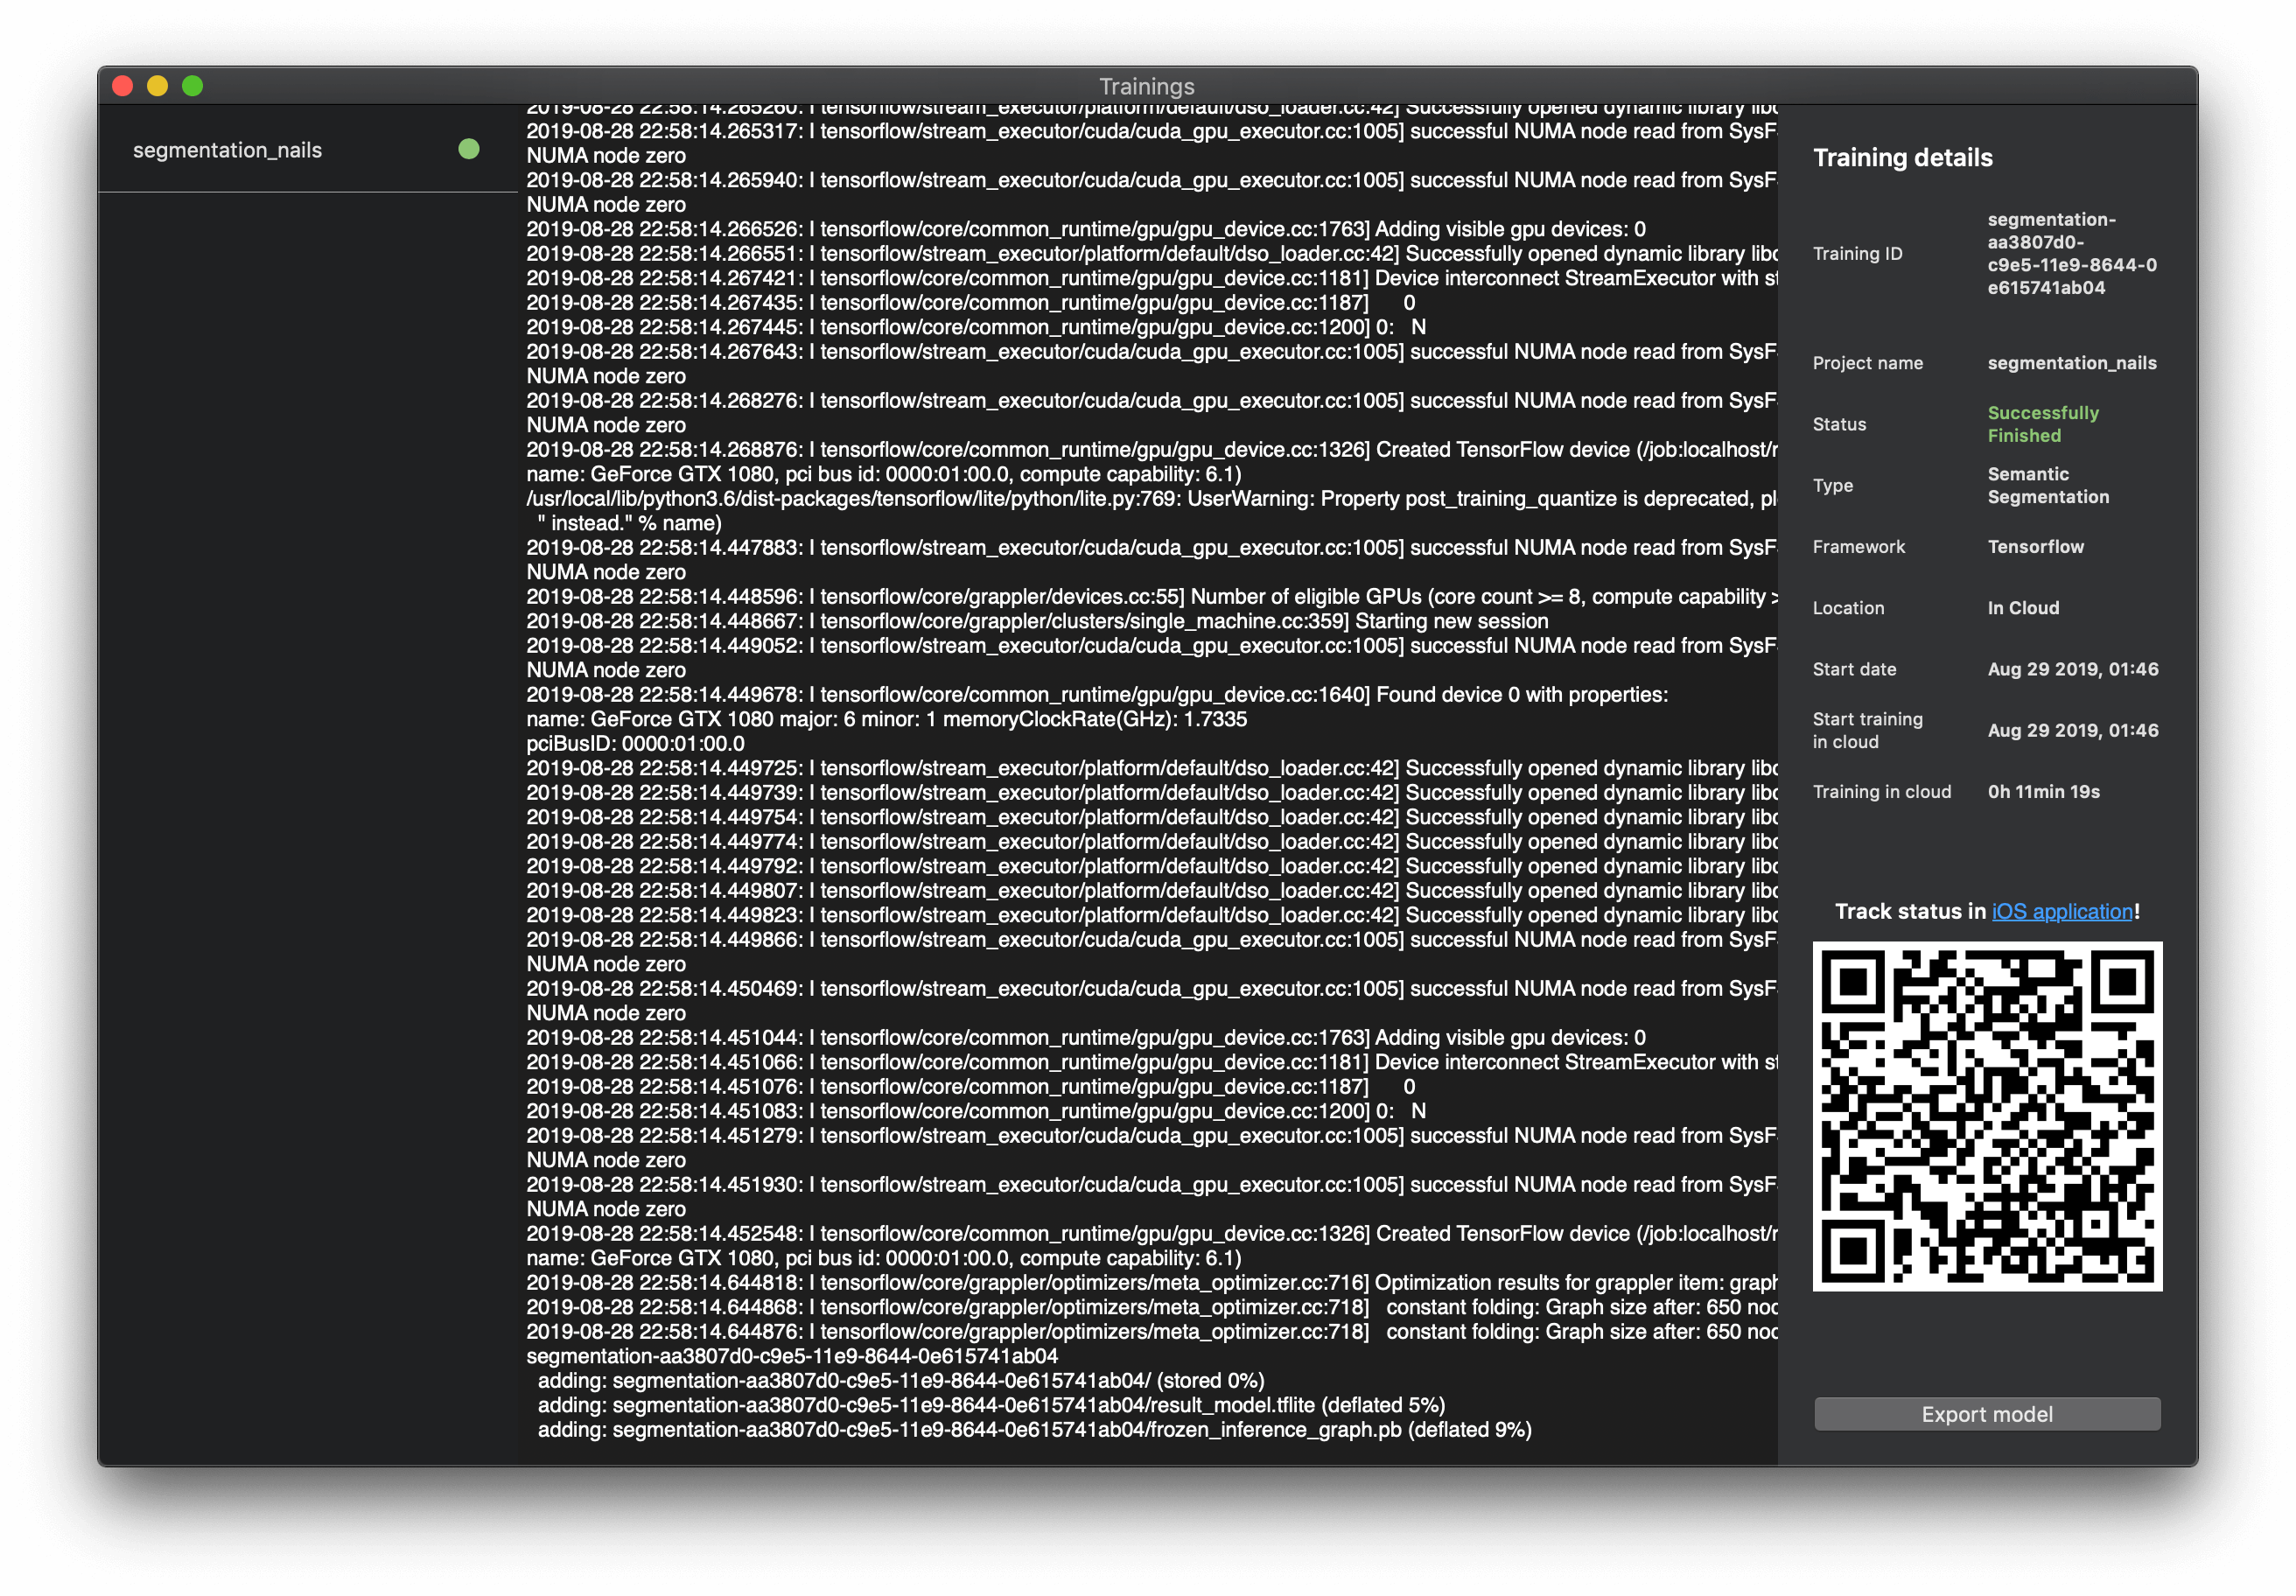
After the training of the model has finished, you can export it and receive .tflite file ready for further use — just press the "Export model" button.
Integration of model with iOS app
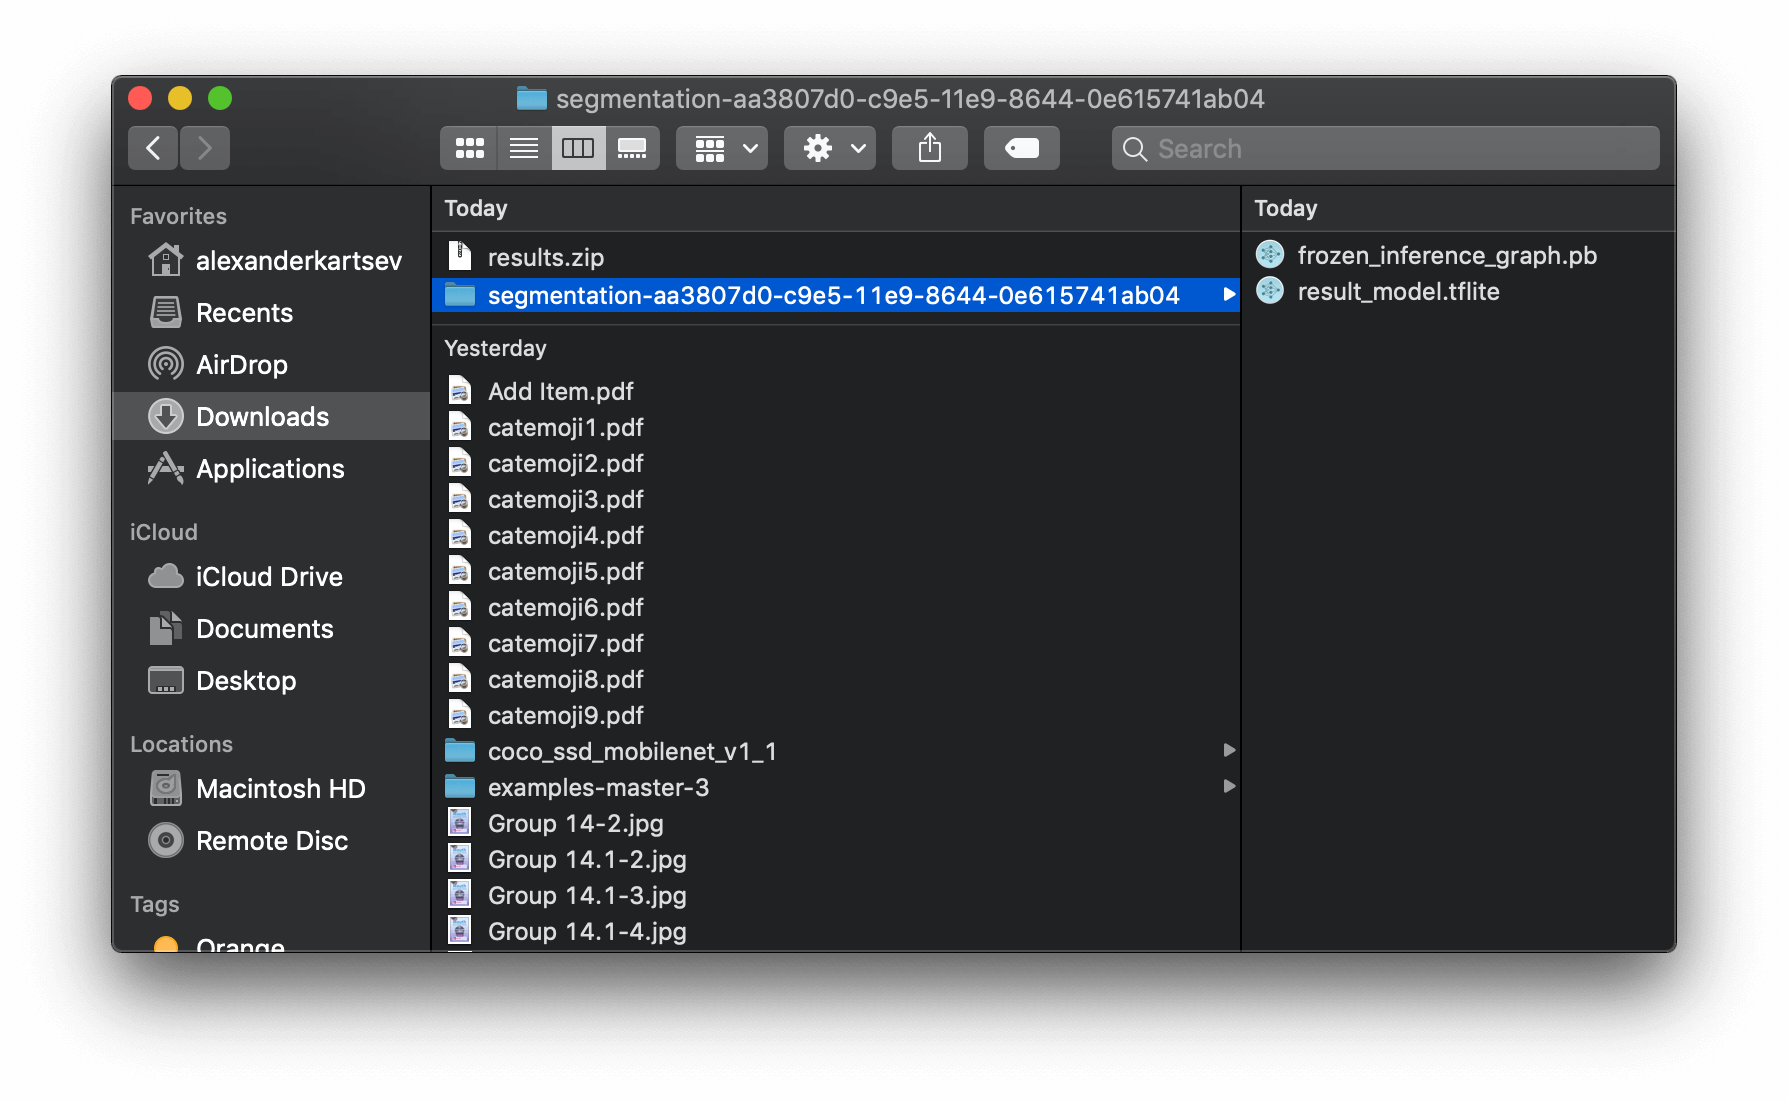
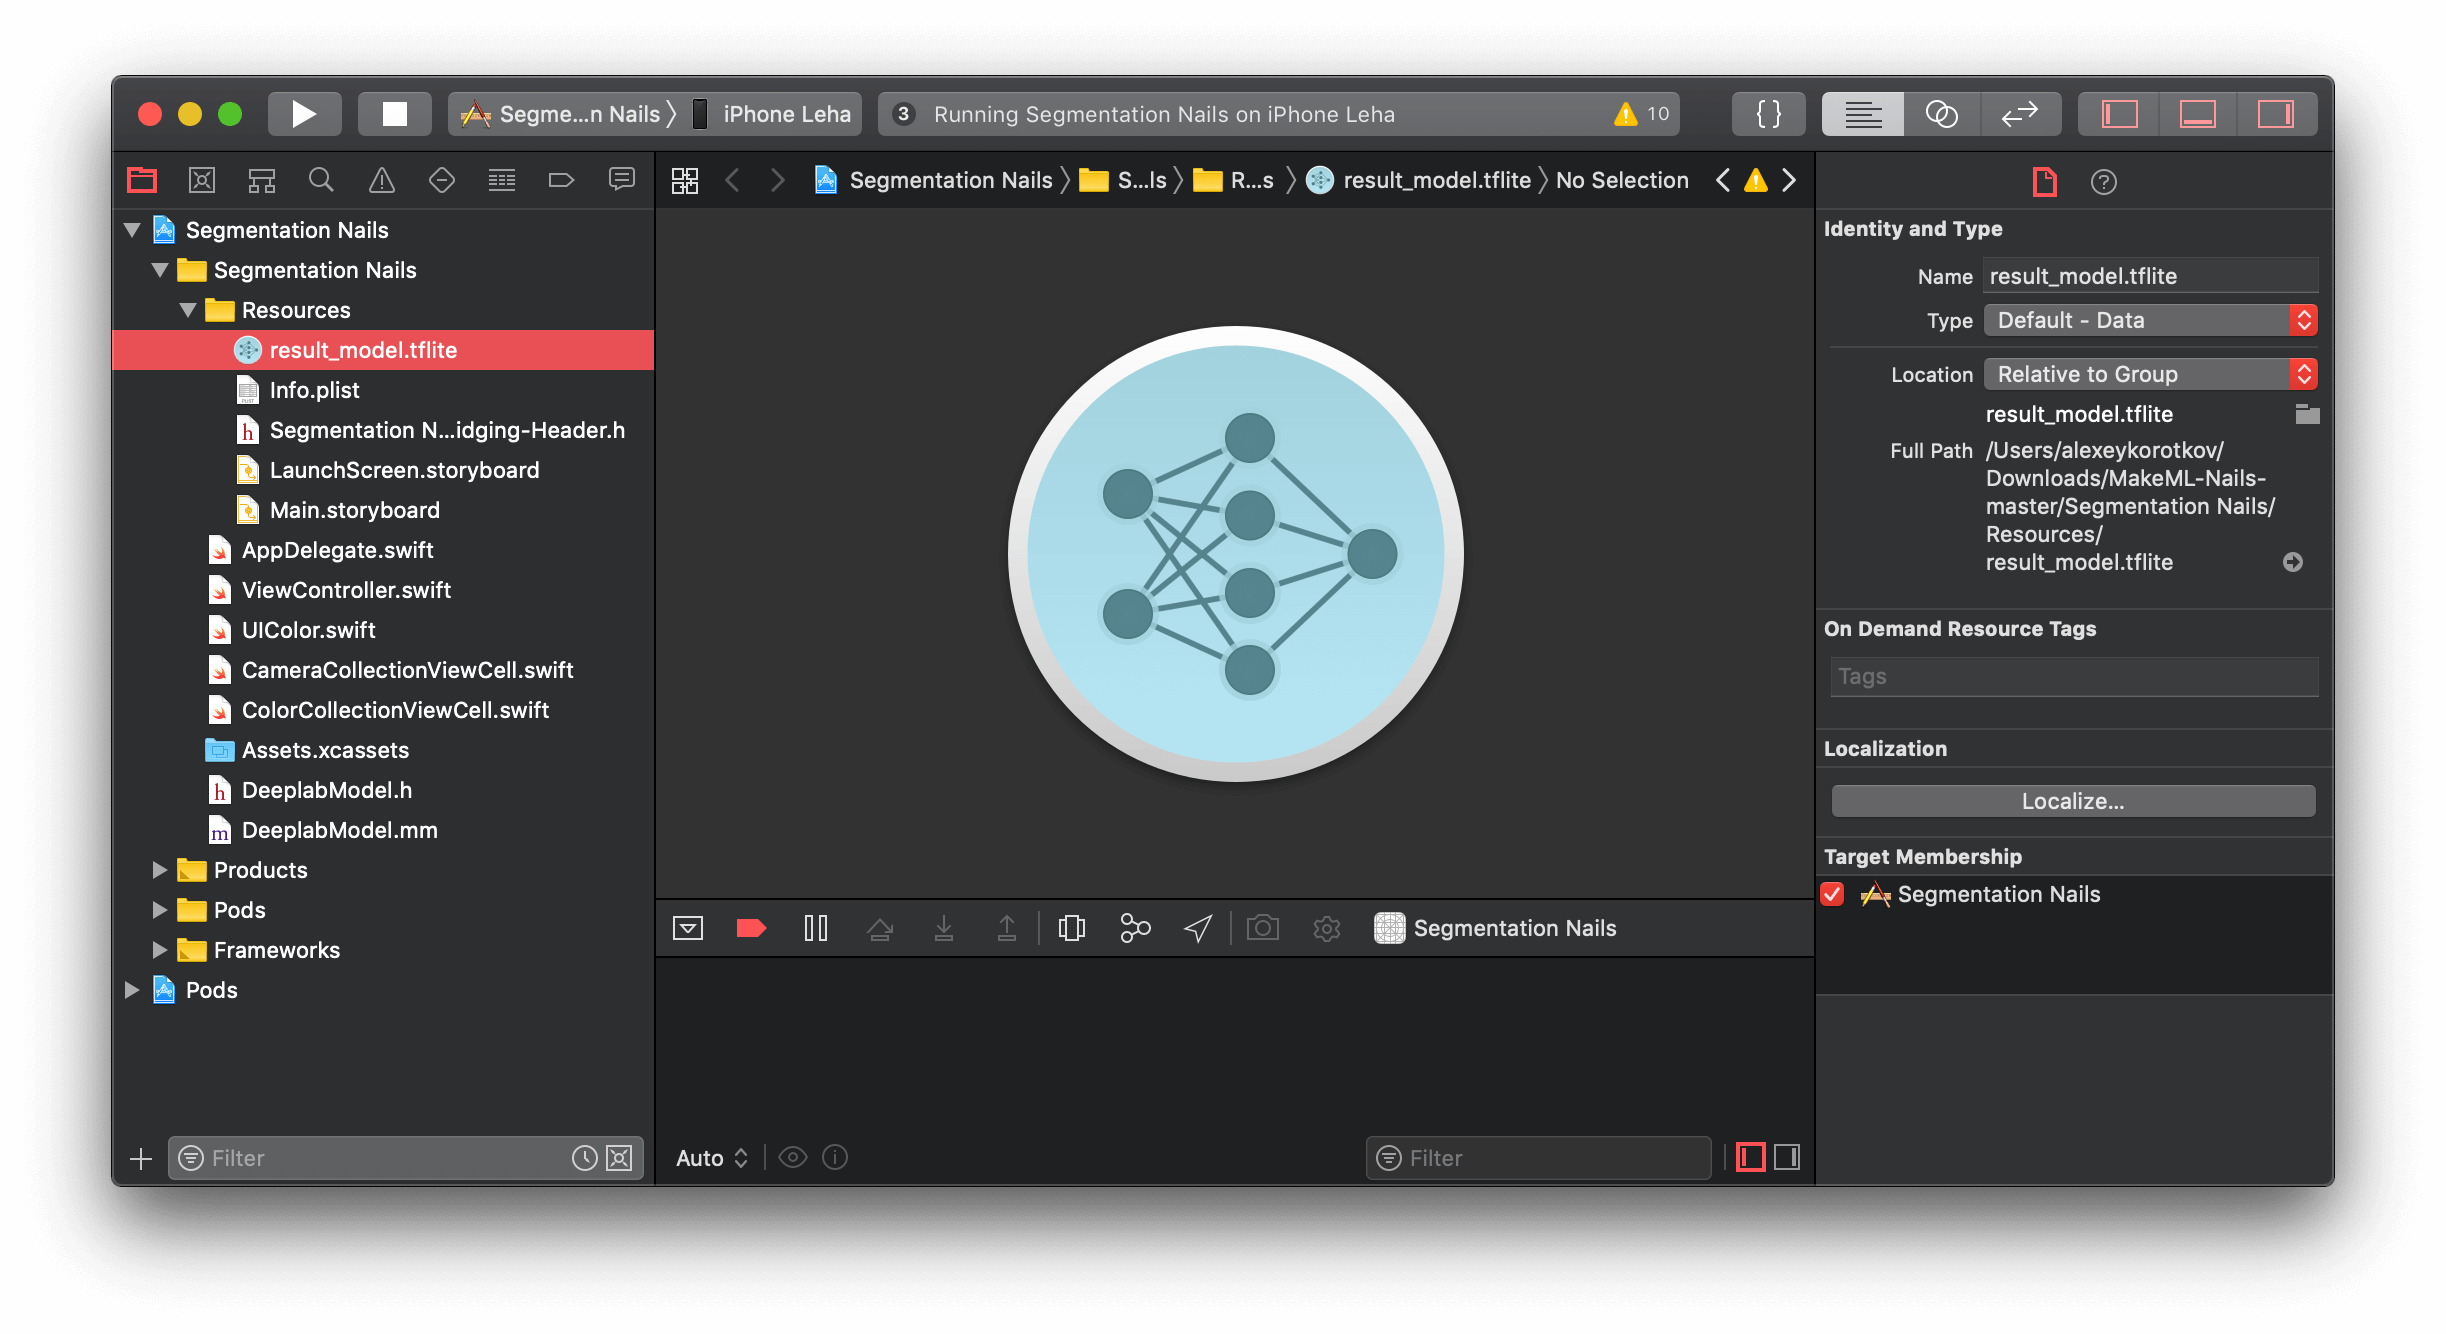
The last step of our tutorial is the integration of the model into an iOS app. After exporting the model, you will receive a .zip file that contains a folder. We need result_model.tflite file from this folder.
To make this tutorial concise, we have prepared a project and posted it on Github. All you need to do is to replace the "result_model.tflite" file with your model there.
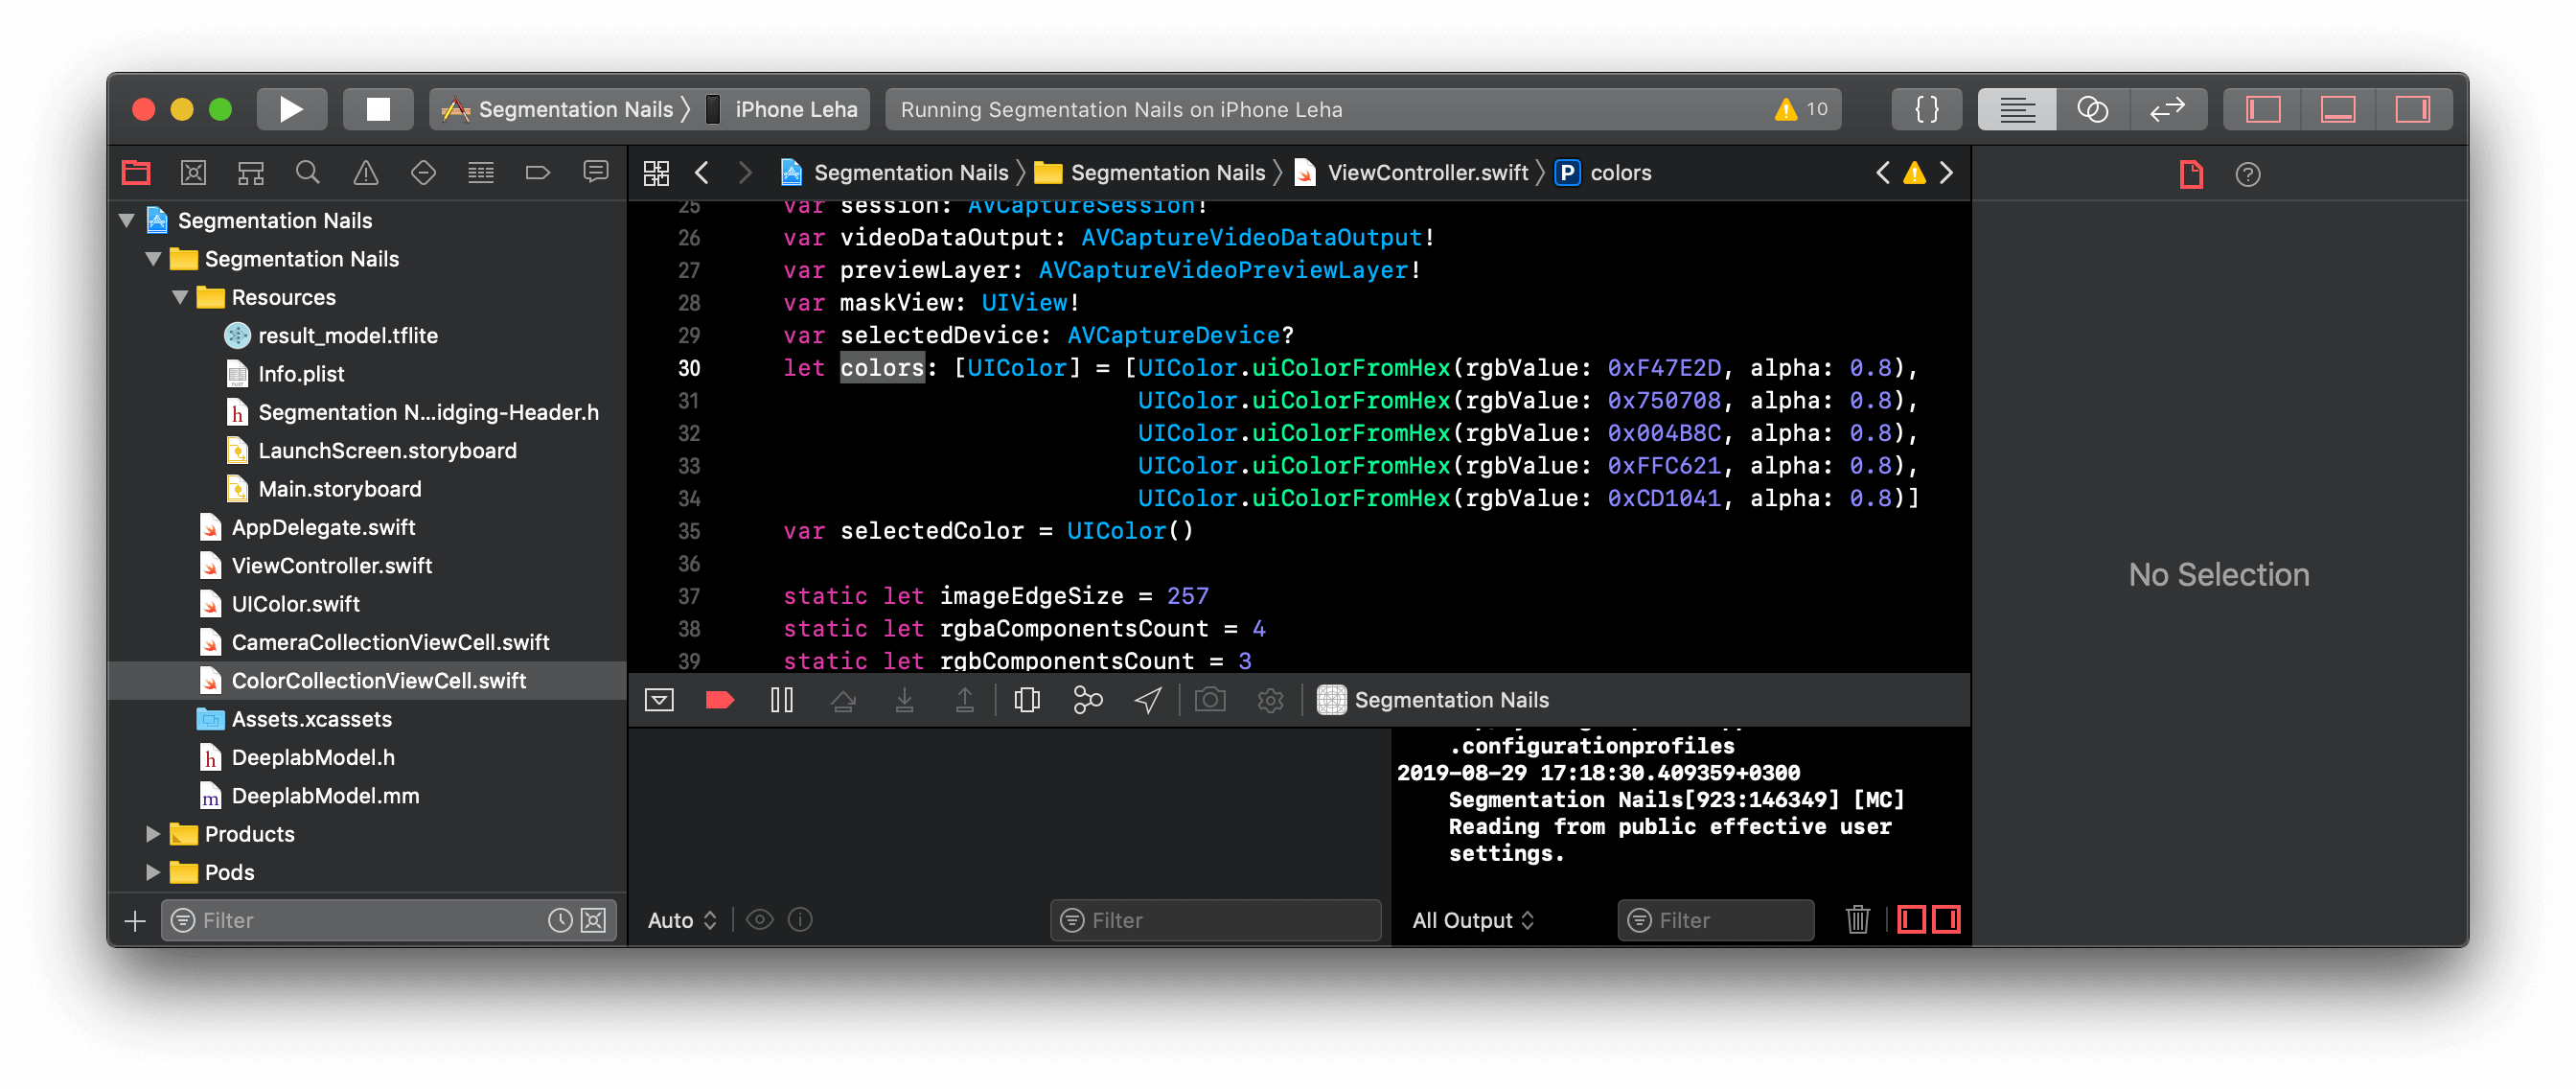
To change colors that will be applied to your nails, you can change colors array in "ViewController.swift".
Next week we will talk a bit deeper on how to setup iOS projects from scratch, setup Tensorflow dependencies, and run so-called "inference" of the model on a mobile device.
If you have any questions on this tutorial, MakeML app or you have proposals, you can write to our Slack-like chat.