Potato Scales Tutorial
Editorial
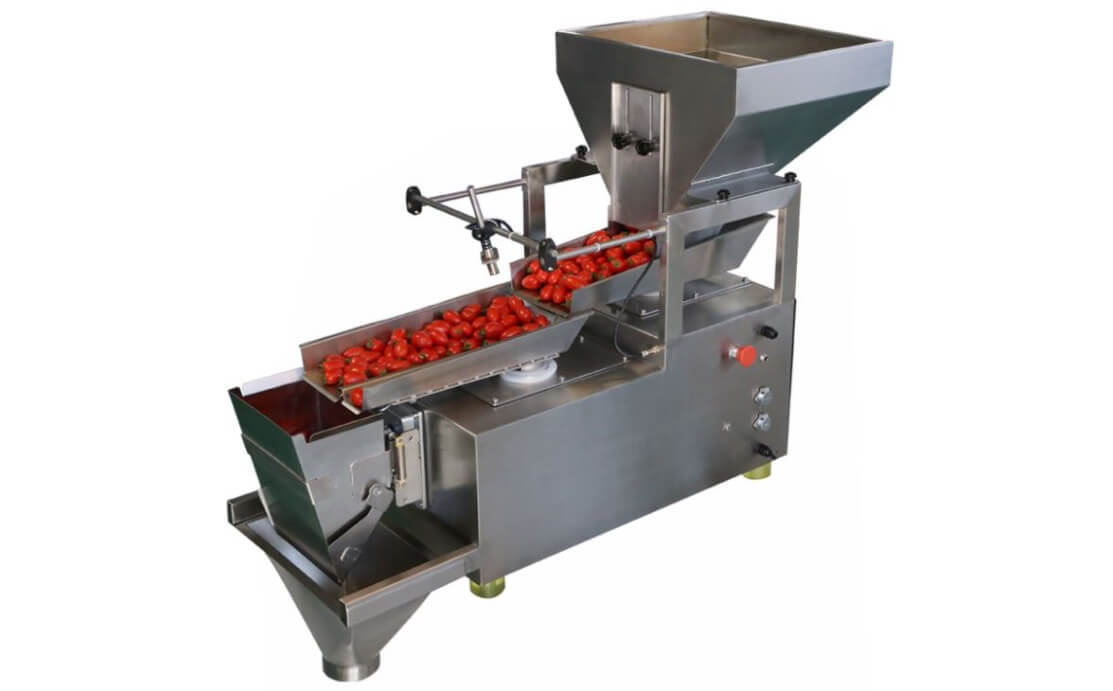
Learn how Pepsi Co uses Computer Vision to sort potatoes on their chips assembly lines and saves 11m$ annually. Editorial Manufacturing is a place where Computer Vision can be used to decrease the costs of production significantly. Recently I have found out an article on how PepsiCo utilizes Computer Vision models to predict the weight of processed potatoes. It saves them around 11m$ annually.
One significant advantage of training neural networks for production lines is that the "environment" always stays the same.
Overview
In this tutorial, we will train a semantic segmentation model that will detect potatoes. This model will predict how much area a potato takes on a screen. Because on assembly lines cameras don't move, this area will represent the 2-dimensional size of the potato. Assuming that this 2-dimensional size also influences on a third dimension (i.e., depth), we will take the square root from our area, and raise this value to the power of 3. And we will get a representation of the volume of the potato. Assuming that potatoes on our assembly line have equal density, we will multiply the volume value on a coefficient that represents density, and we will receive a rough estimation of weight.
Creating Dataset
For this tutorial, at first, I need to buy potato and kitchen scale. I have put the potato on the weigher and make some videos with it.
Going forward, with the dataset from the video above, I've got a model that recognizes potatoes as well as the dial. Because of potato and dial has the same color (dark grey) and background (red). The result was:
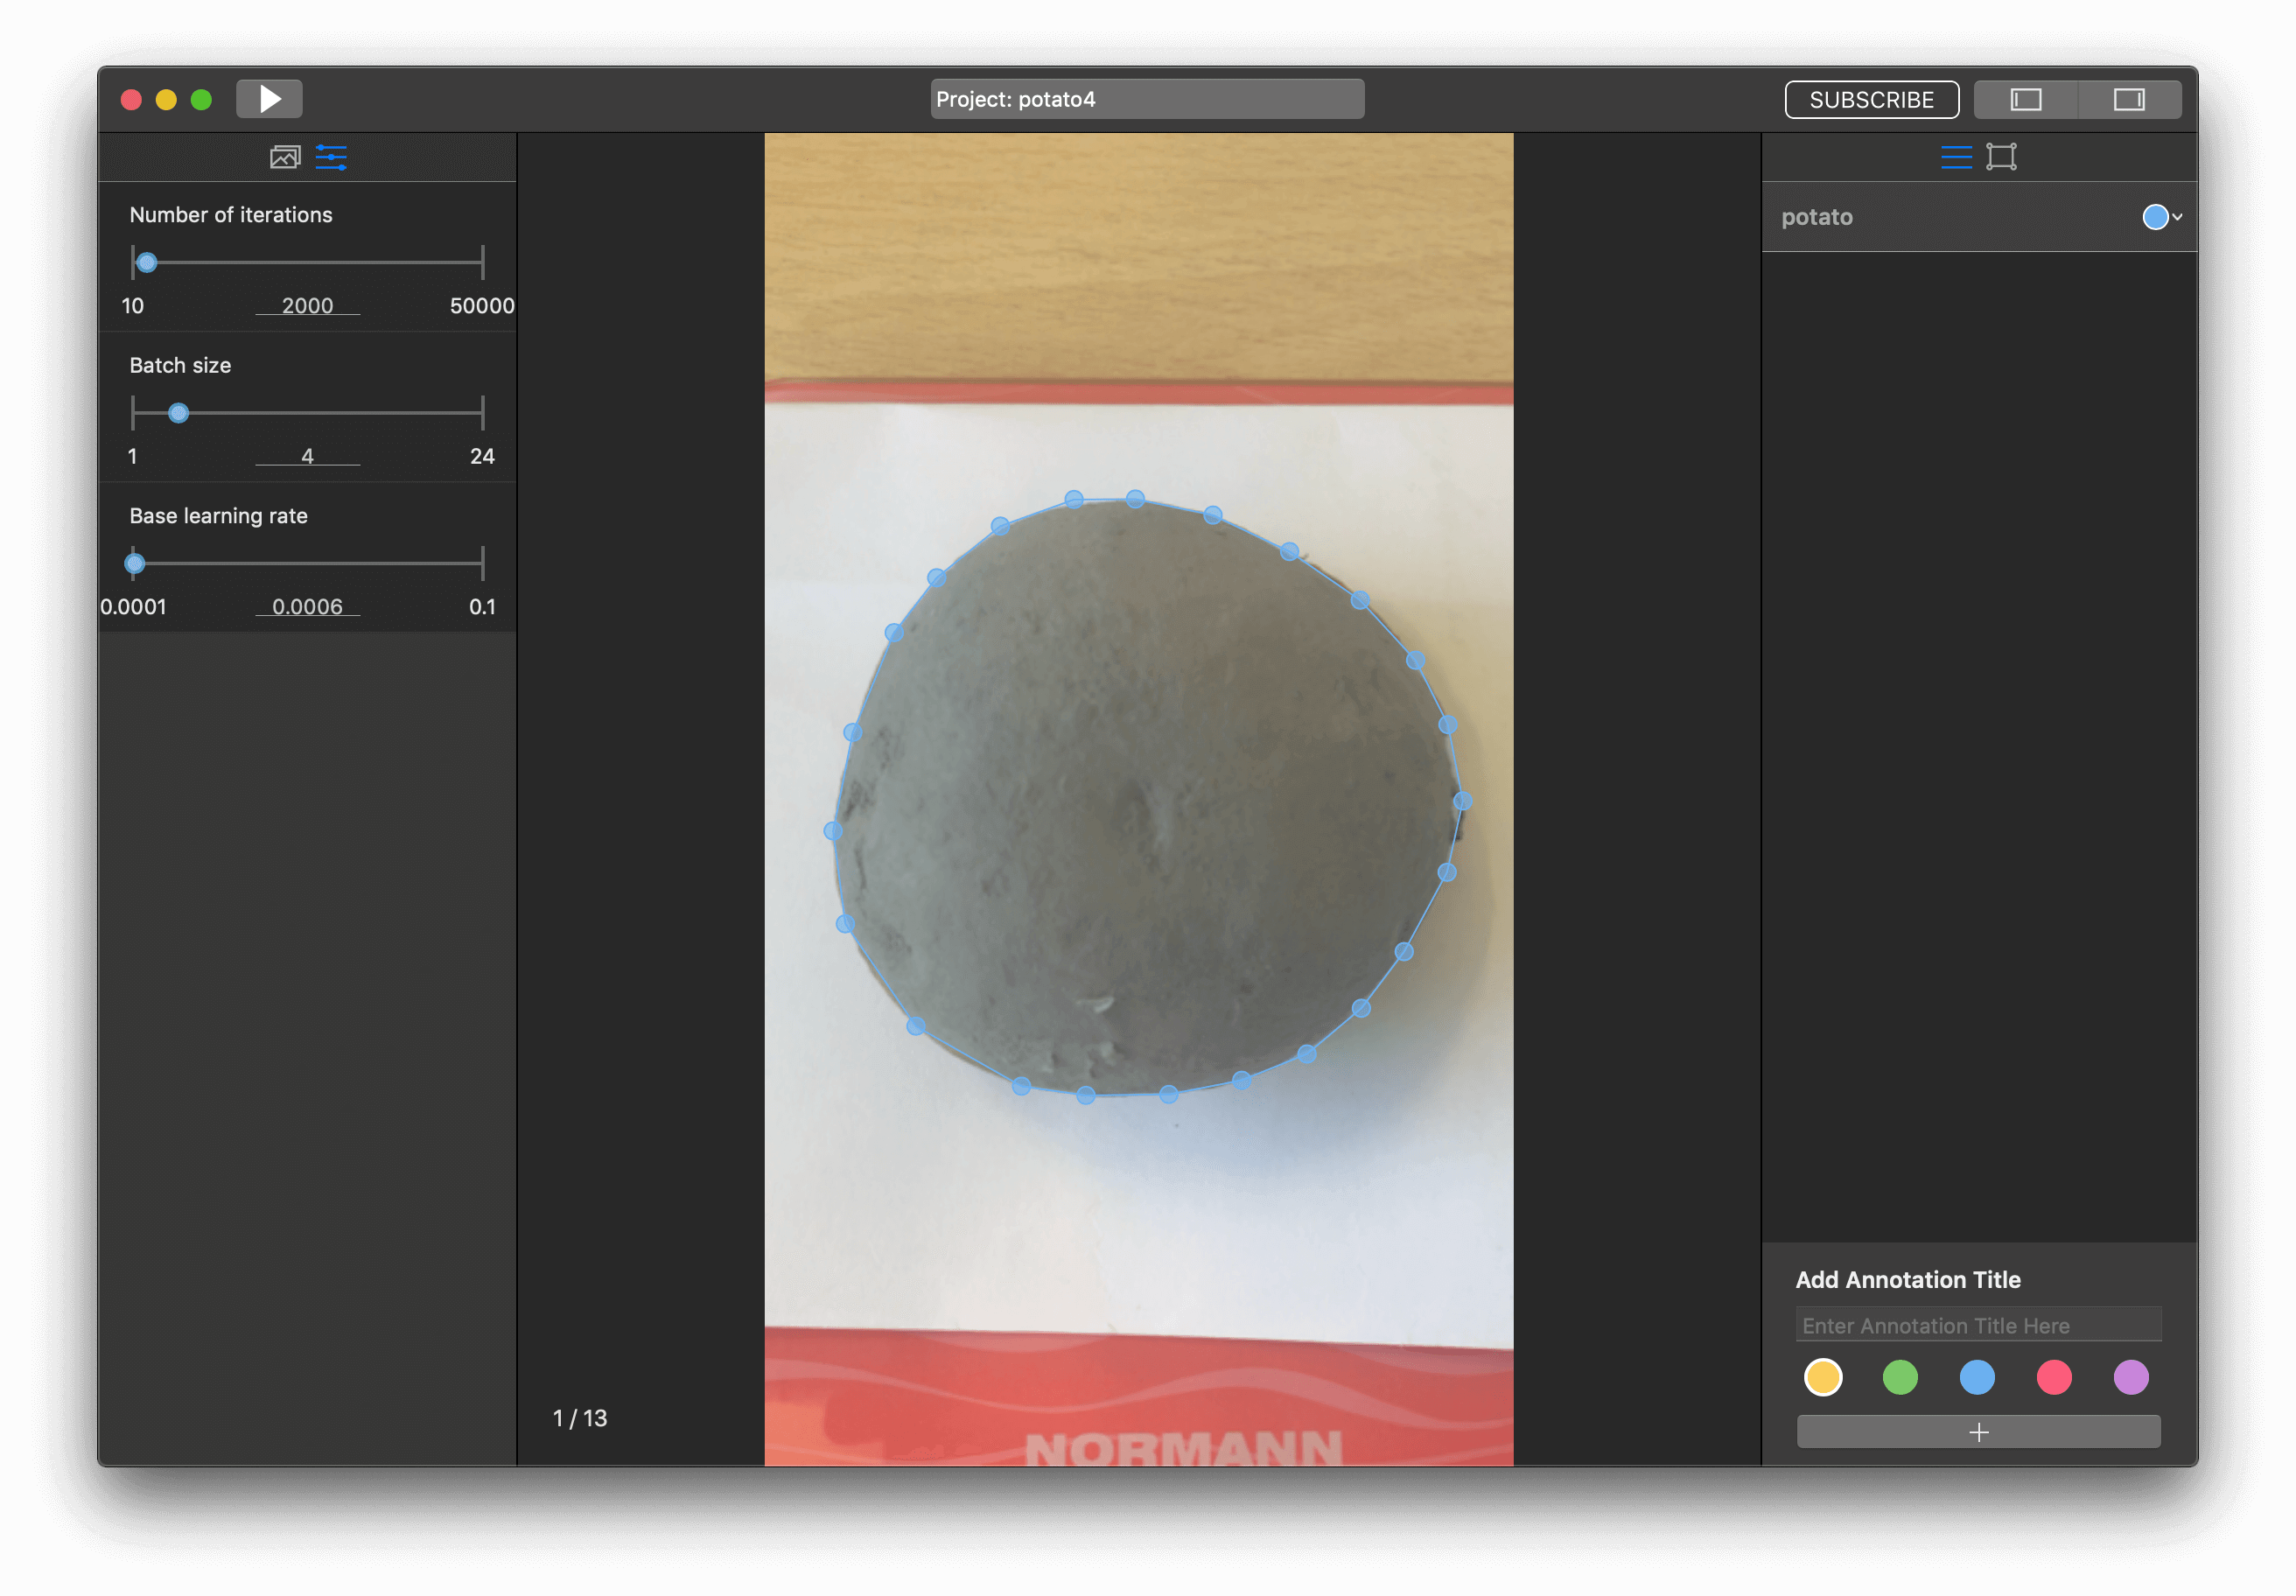
So, we need to use something that helps distinguish potato from the dial. I just put white paper under potato, and it helps.
We've made the video for the dataset. Let's move to MakeML and create a project. Be attentive, we need to use segmentation in the current tutorial.
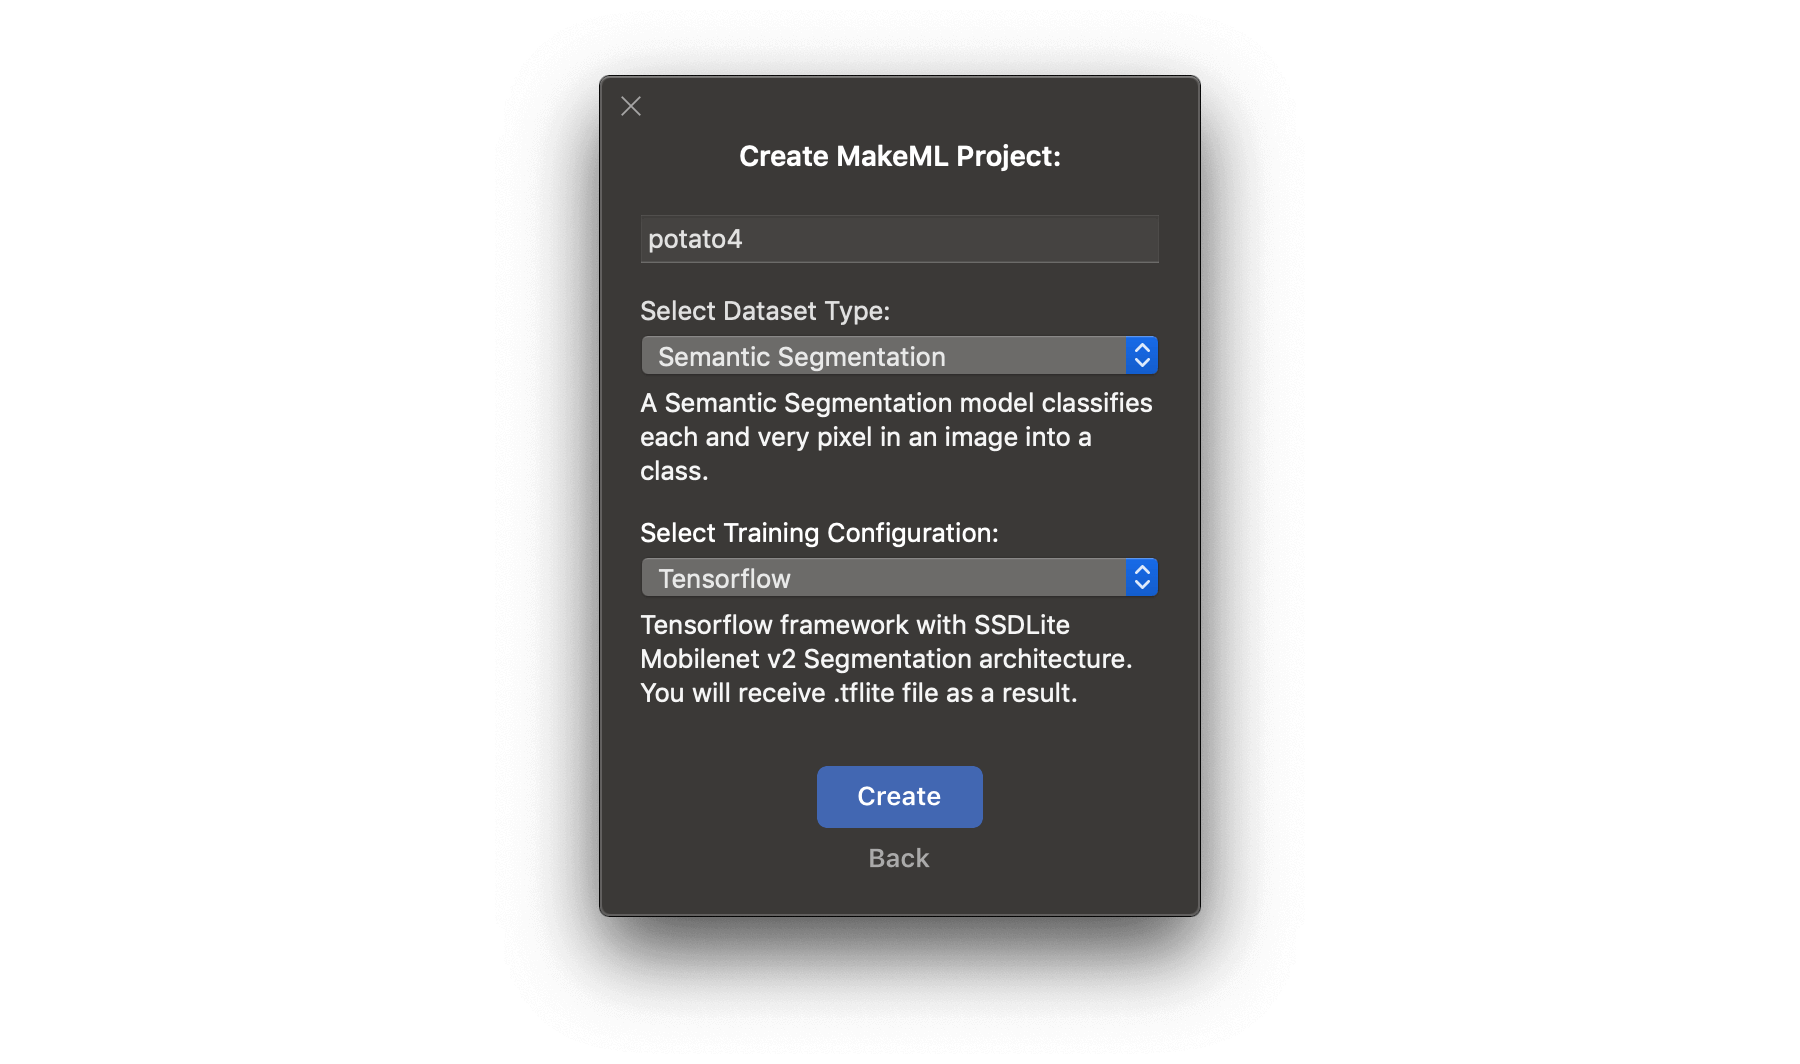
Import our video to the project as we do in previous tutorials too.
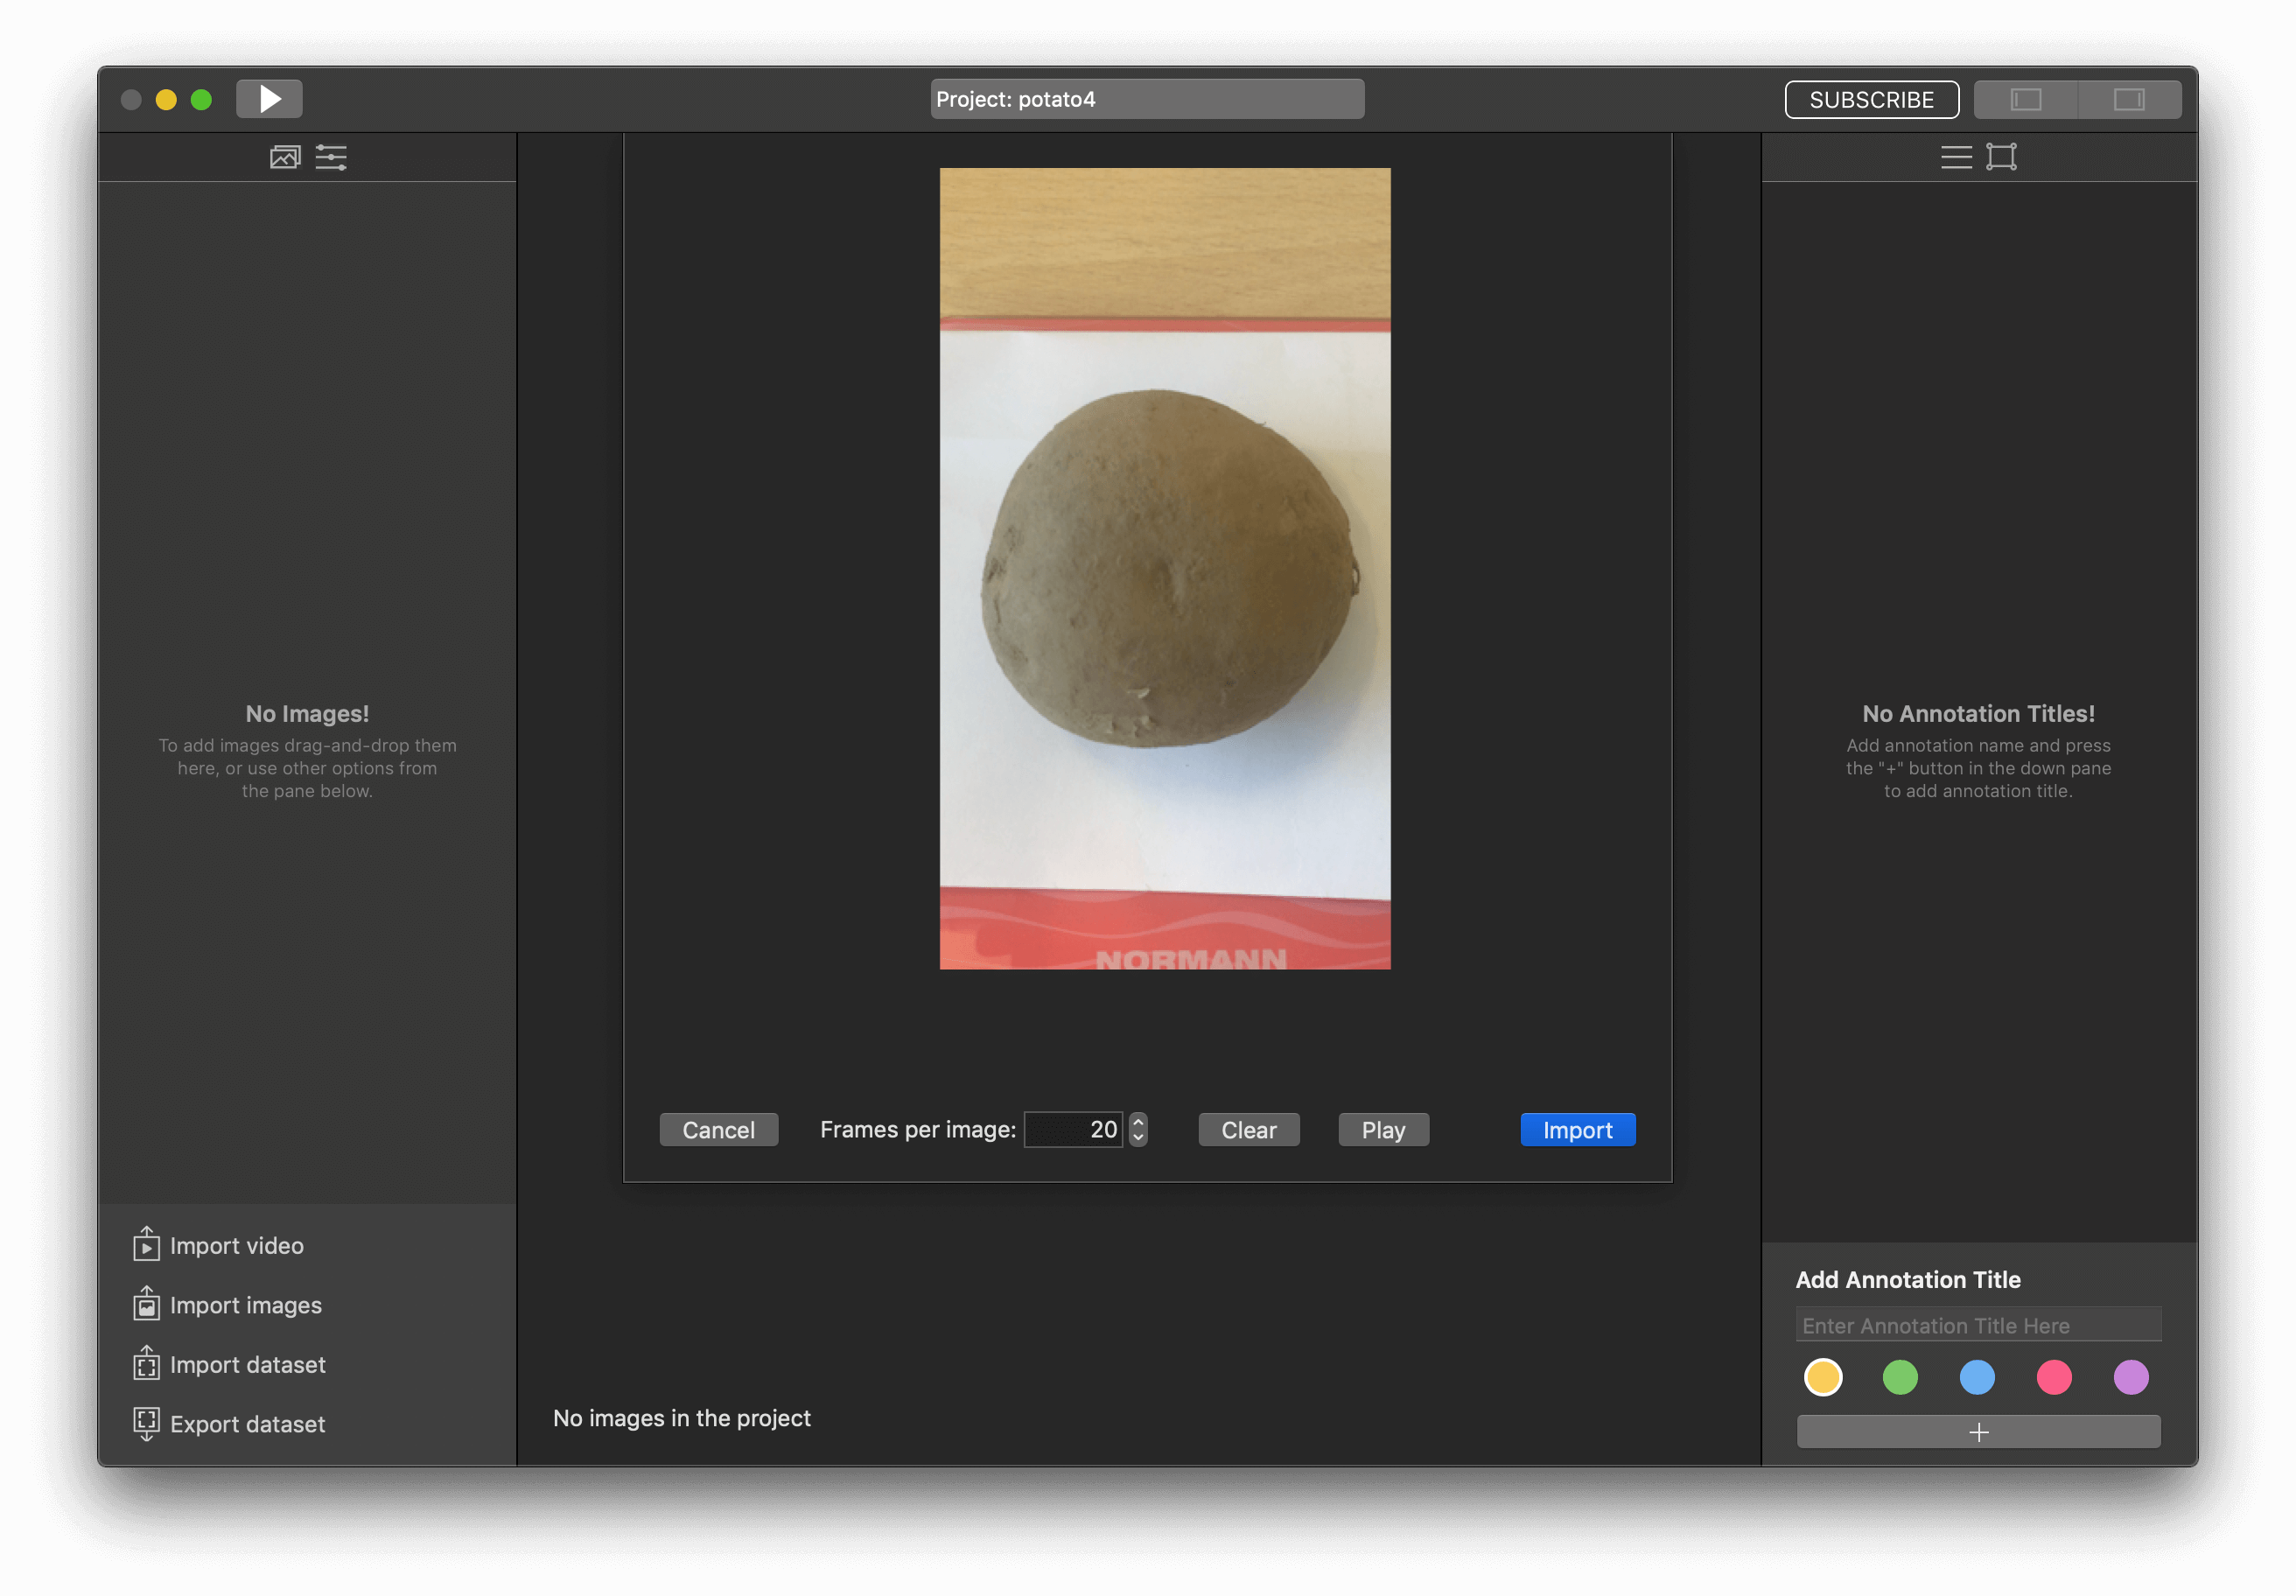
I've got 13 pictures with one potato. Add one annotation title and start markup images.
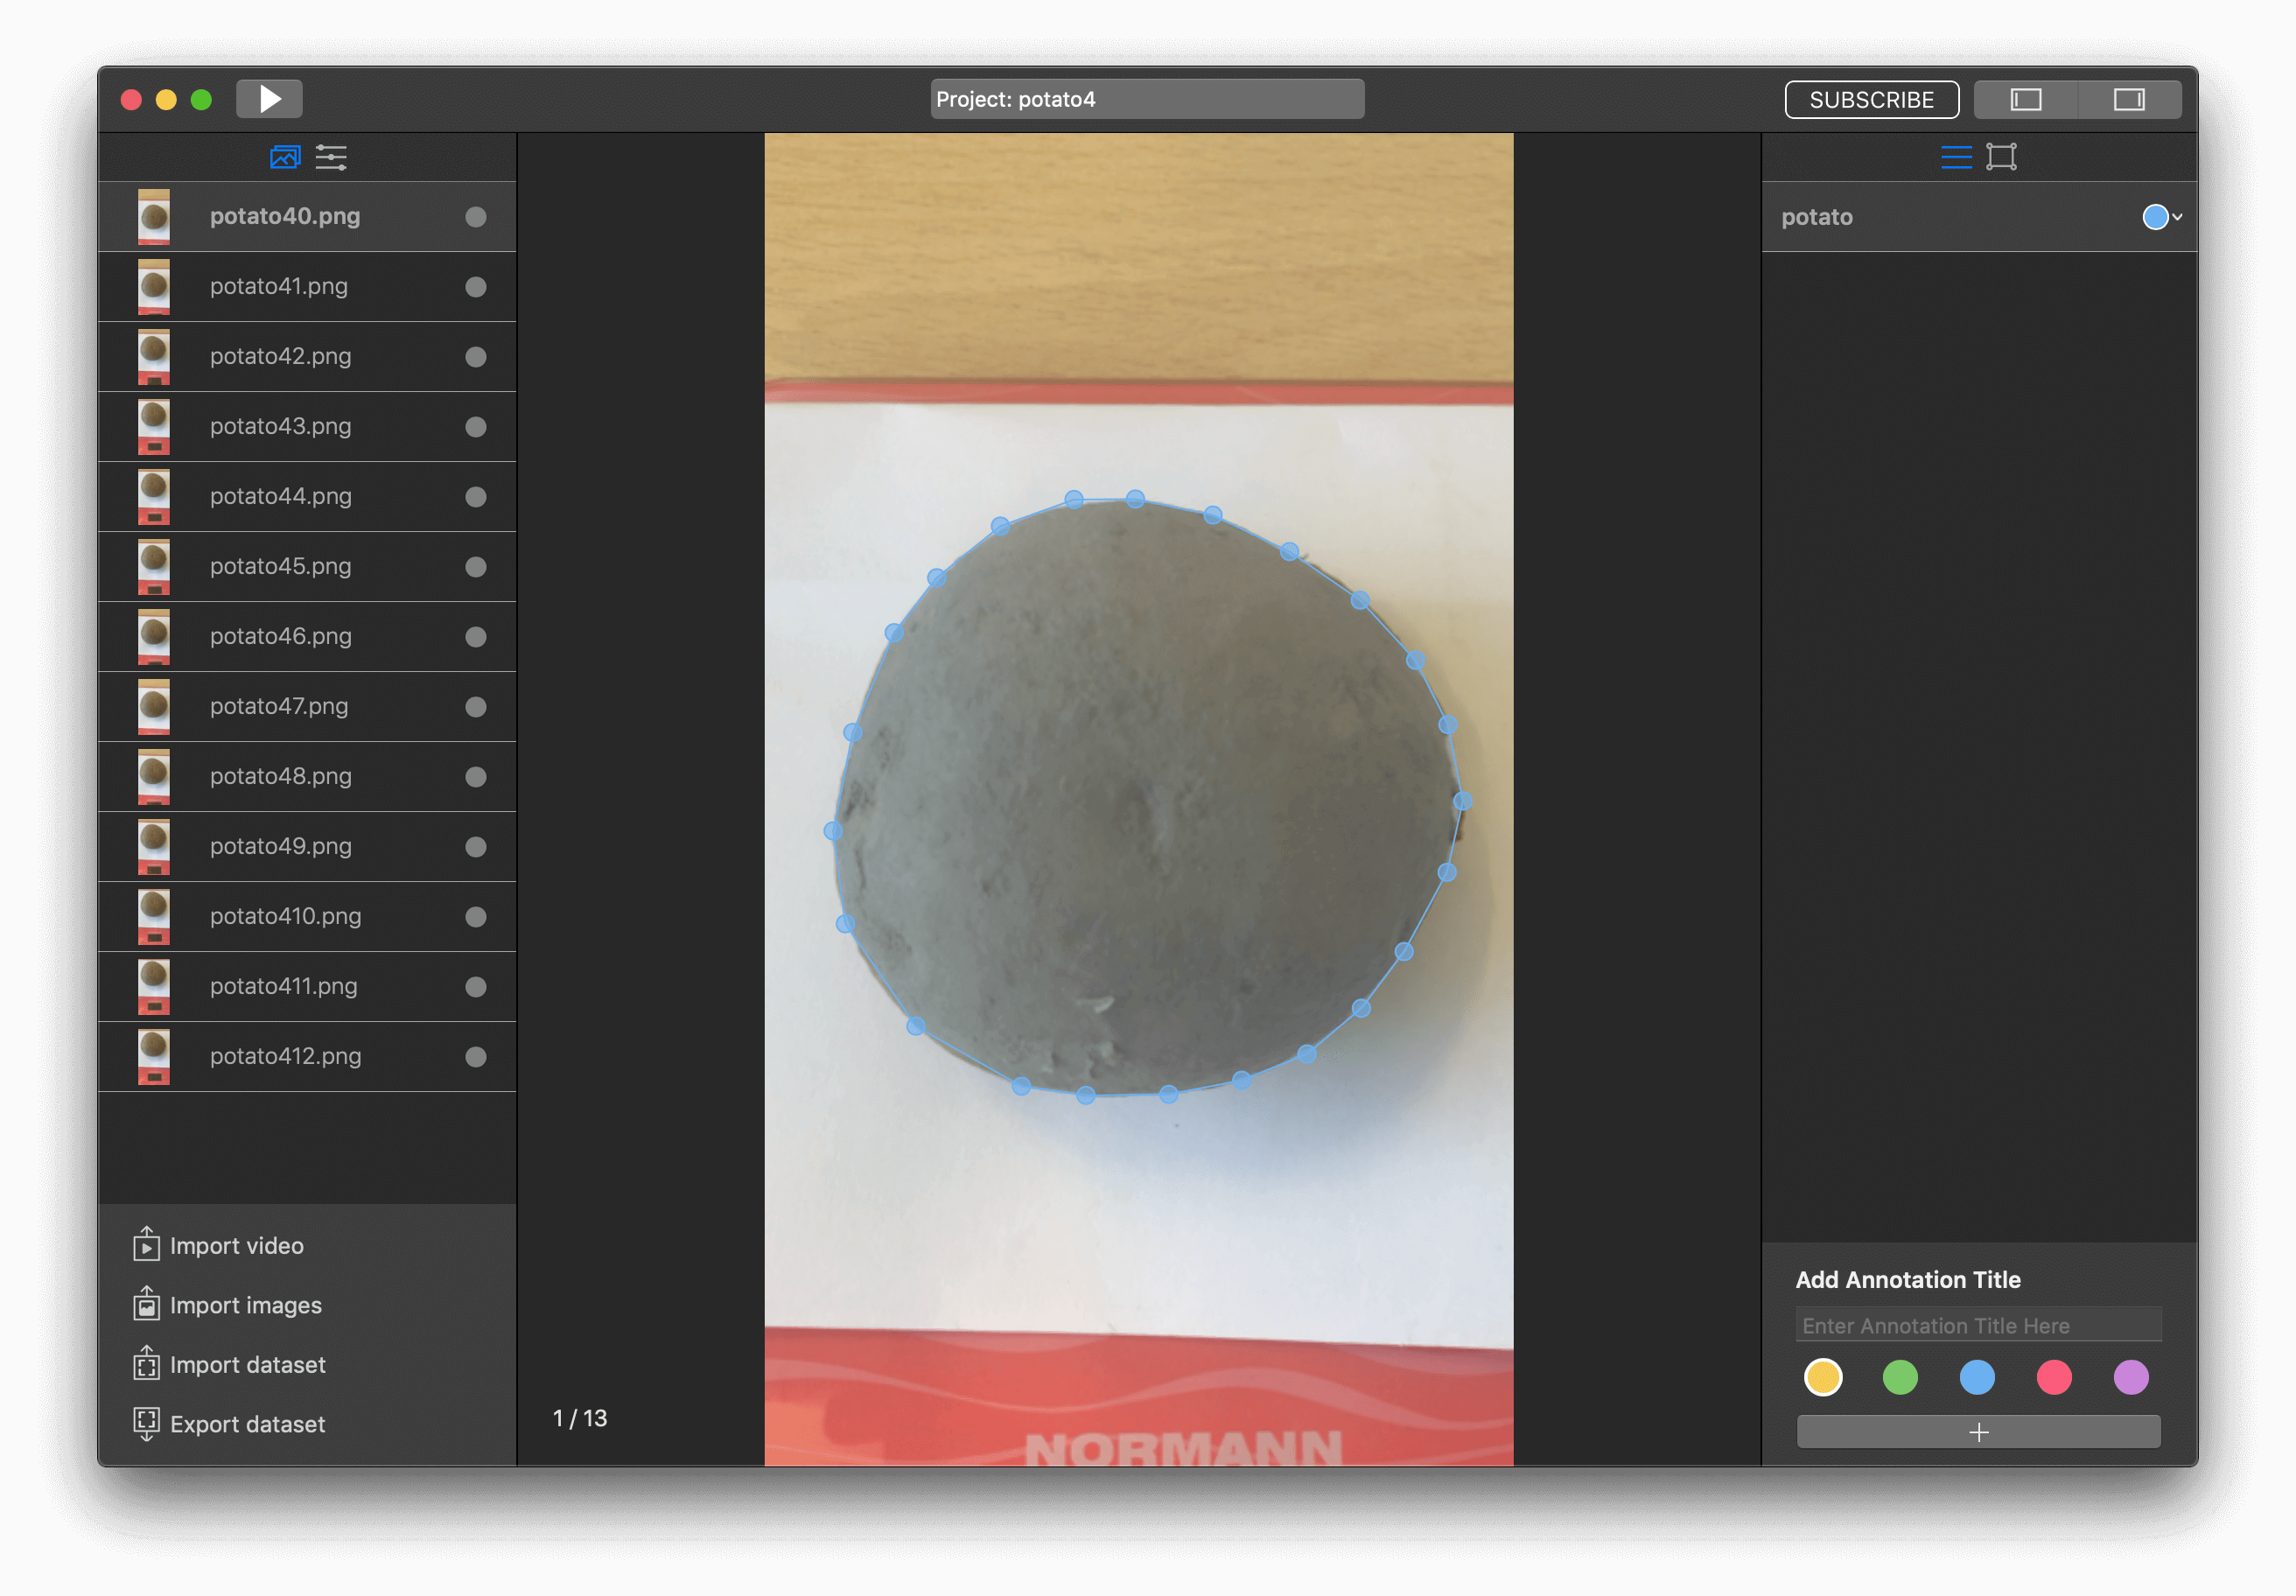
So, it looks like we are ready to start training.
Training
Before training, we need to configure parameters, move to tab with them.
In this project, I had great results with the next training configuration parameters:
- Batch size - 4
- Number of iterations - 2000
- Learning rate - 0.0006
But it was maybe my fifth try. I have been changing the number of iterations and learning rate. If as a result, you get a model with a loss of more than 0.5 then decrease the learning rate.
To start our training, we need to press the "Run" button.
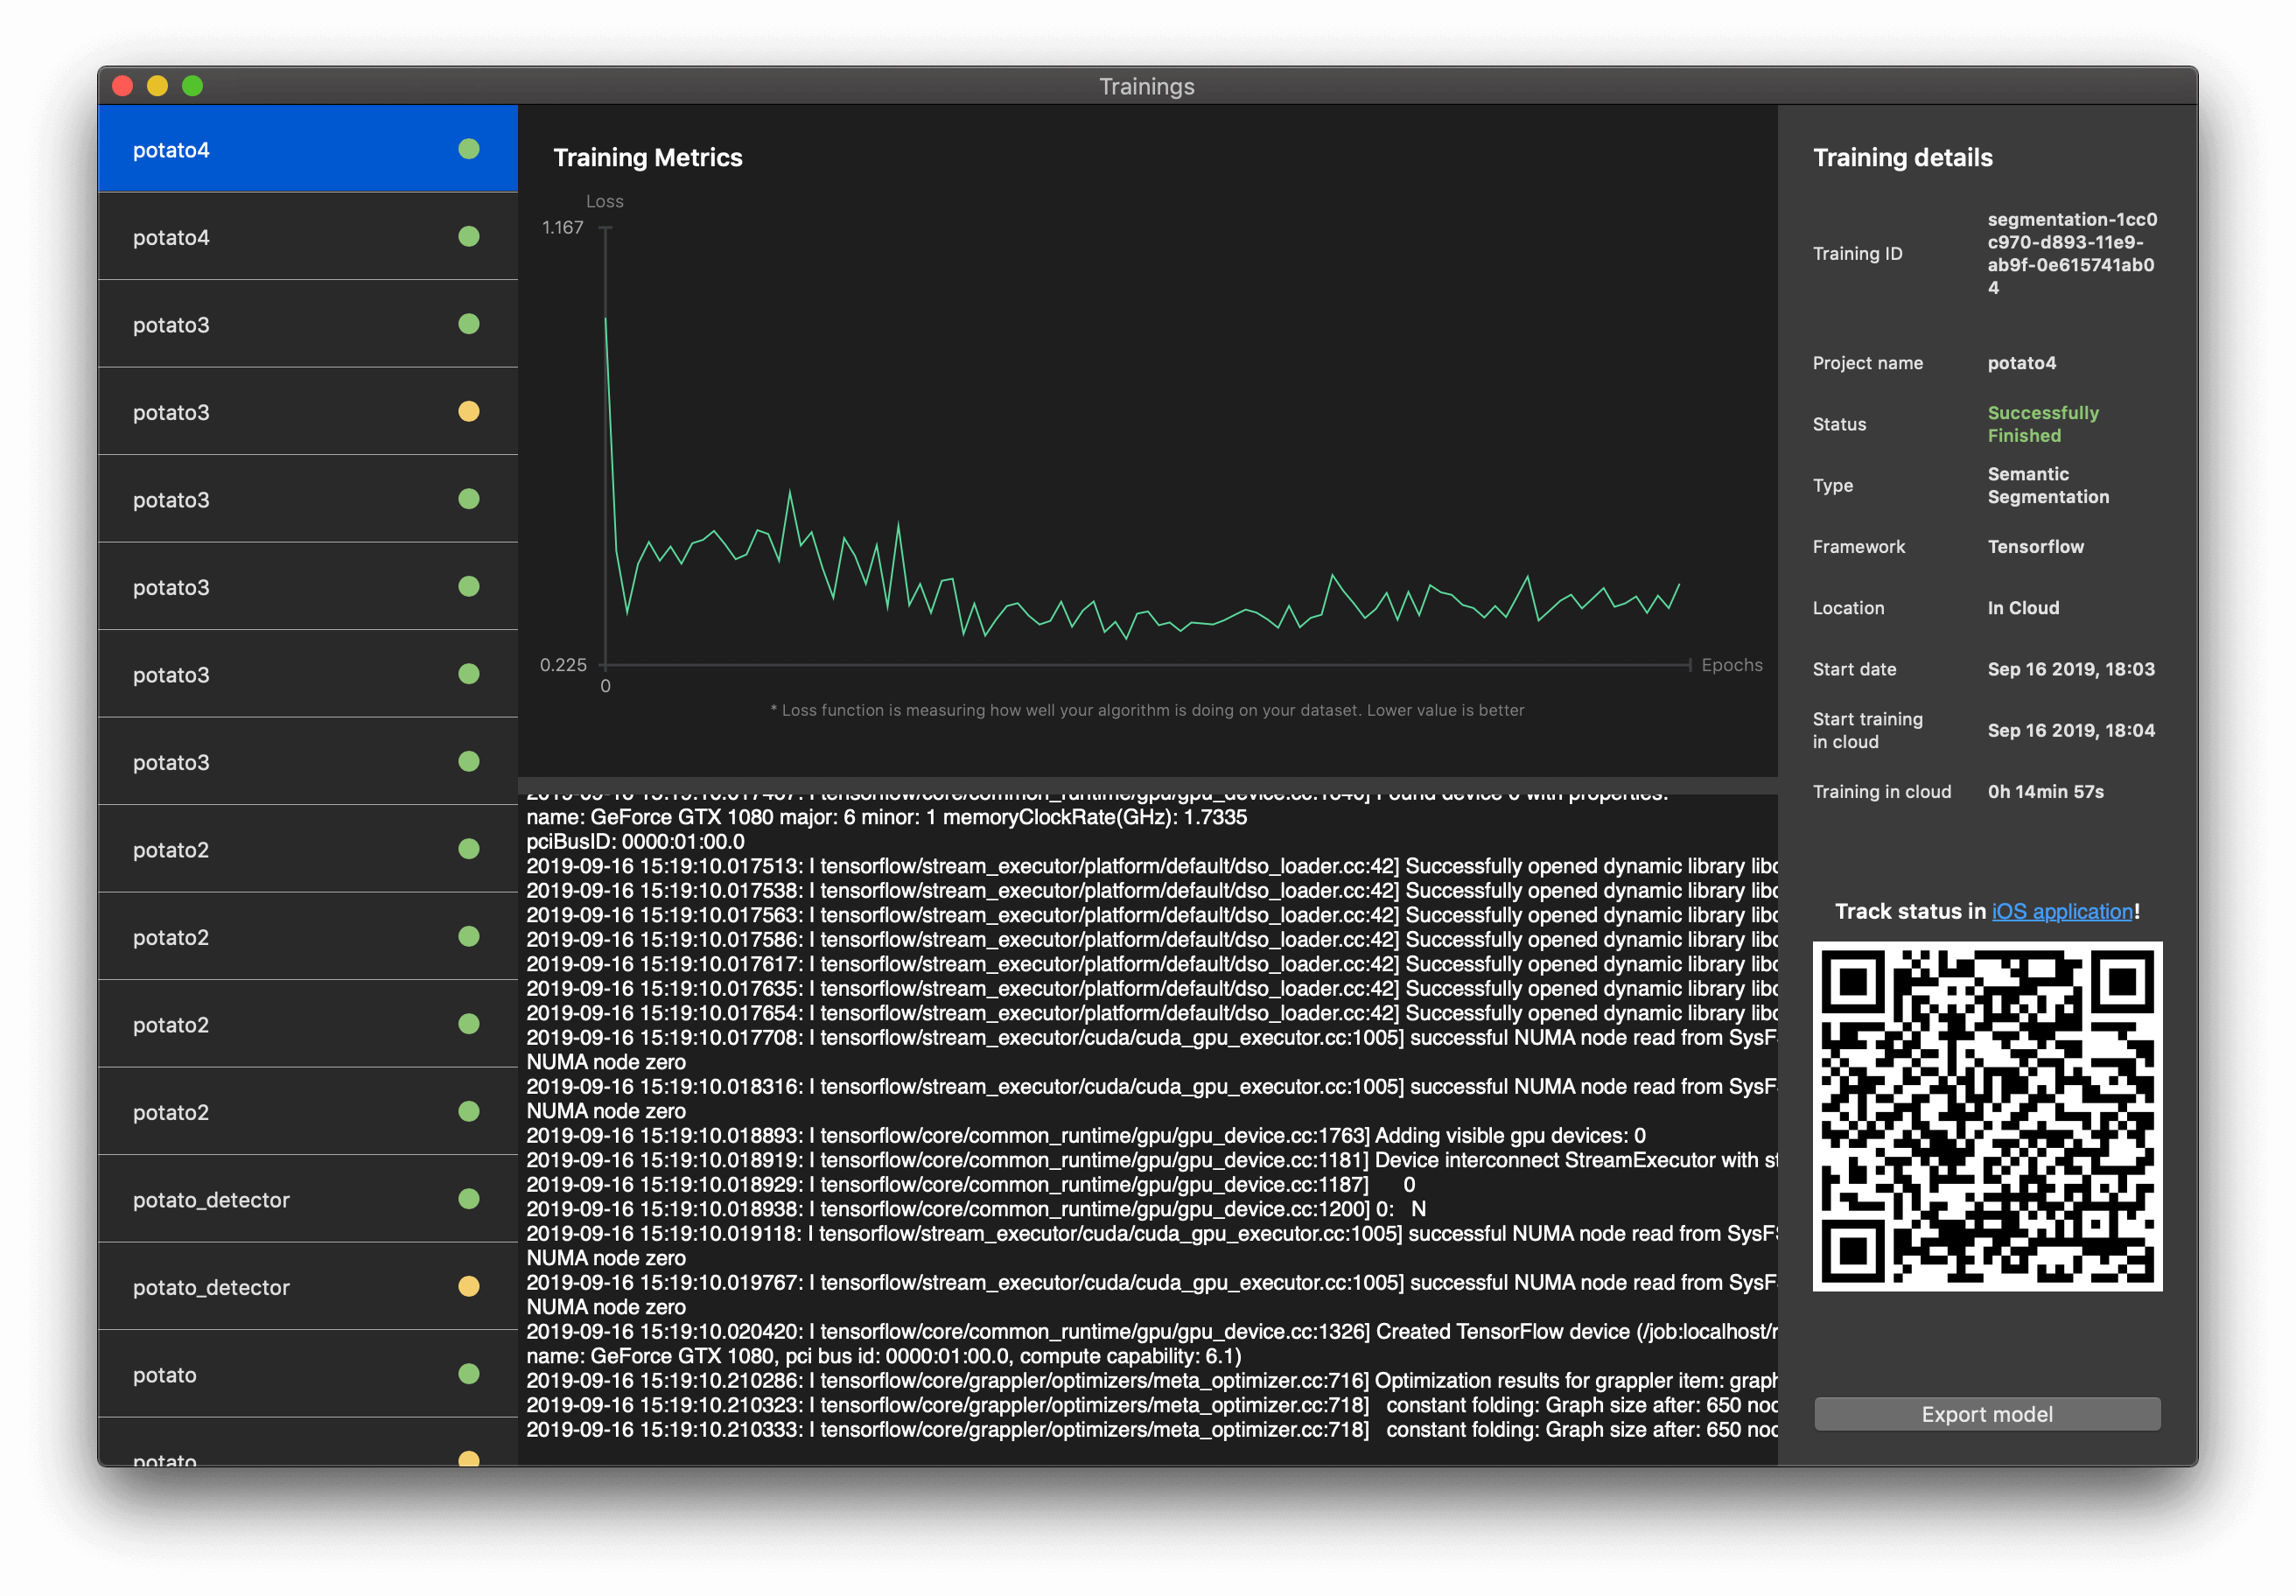
When the training of the model was finished, you can export it and receive a .tflite file, which is ready for integrating into your iOS app. All you need is to press the "Export model" button.
Integration of model with iOS app
For integrating the semantic segmentation model in the iOS app, we have taken our template and add our .tflite file to it.

Great! Let's add logic for detecting the weight of potato.
Navigate to DeeplabMode.mm and move to method - (unsigned char *) process:(CVPixelBufferRef)pixelBuffer.
Add the next code to the end of this method:
for (int index = 0; index<257*257; index++) {
int classID = 0;
int classValue = INT_MIN;

for (int classIndex = 0; classIndex < class_count; classIndex++) {
int class_value_index = (index * class_count) + classIndex;
float value = output[class_value_index];
if (classValue < value) {
classValue = value;
classID = classIndex;
}

if (classID > 0) {
int x_color = index % 257;
int y_color = index / 257;
NSArray * array = @[[NSNumber numberWithInt: x_color], [NSNumber numberWithInt: y_color]];
[self.lastCordinates addObject:array];
}
}

unsigned int color = colors[classID];
memcpy(&result[index * 4], &color, sizeof(unsigned int));
}
Here we are saving all pixels, that were detected as a result object, to lastCordinates property.
So, lastCordinates property now is saving all coordinates where the potato was detected. Let's get this property in ViewController.swift, func processFrame(pixelBuffer: CVPixelBuffer).
Just add let coloredPixelsCount = model.lastCordinates.count in the end of this method.
So, now we need to find a coefficient for dividing pixels count. I've noticed that if the iPhone camera is 20cm from the scale, then the ratio should be equal 0.0212. Let's add it to our app:
let coloredPixelsCount = model.lastCordinates.count
let coefficient = 0.0212
let weights = coloredPixelsCount/coefficient
So, we need to add UILabel to display potato weights. As a result, we've got:
The full project you can get here. Feel free to ask any questions in our chat.